DIY Raised-Bed Vegetable and Herb Garden
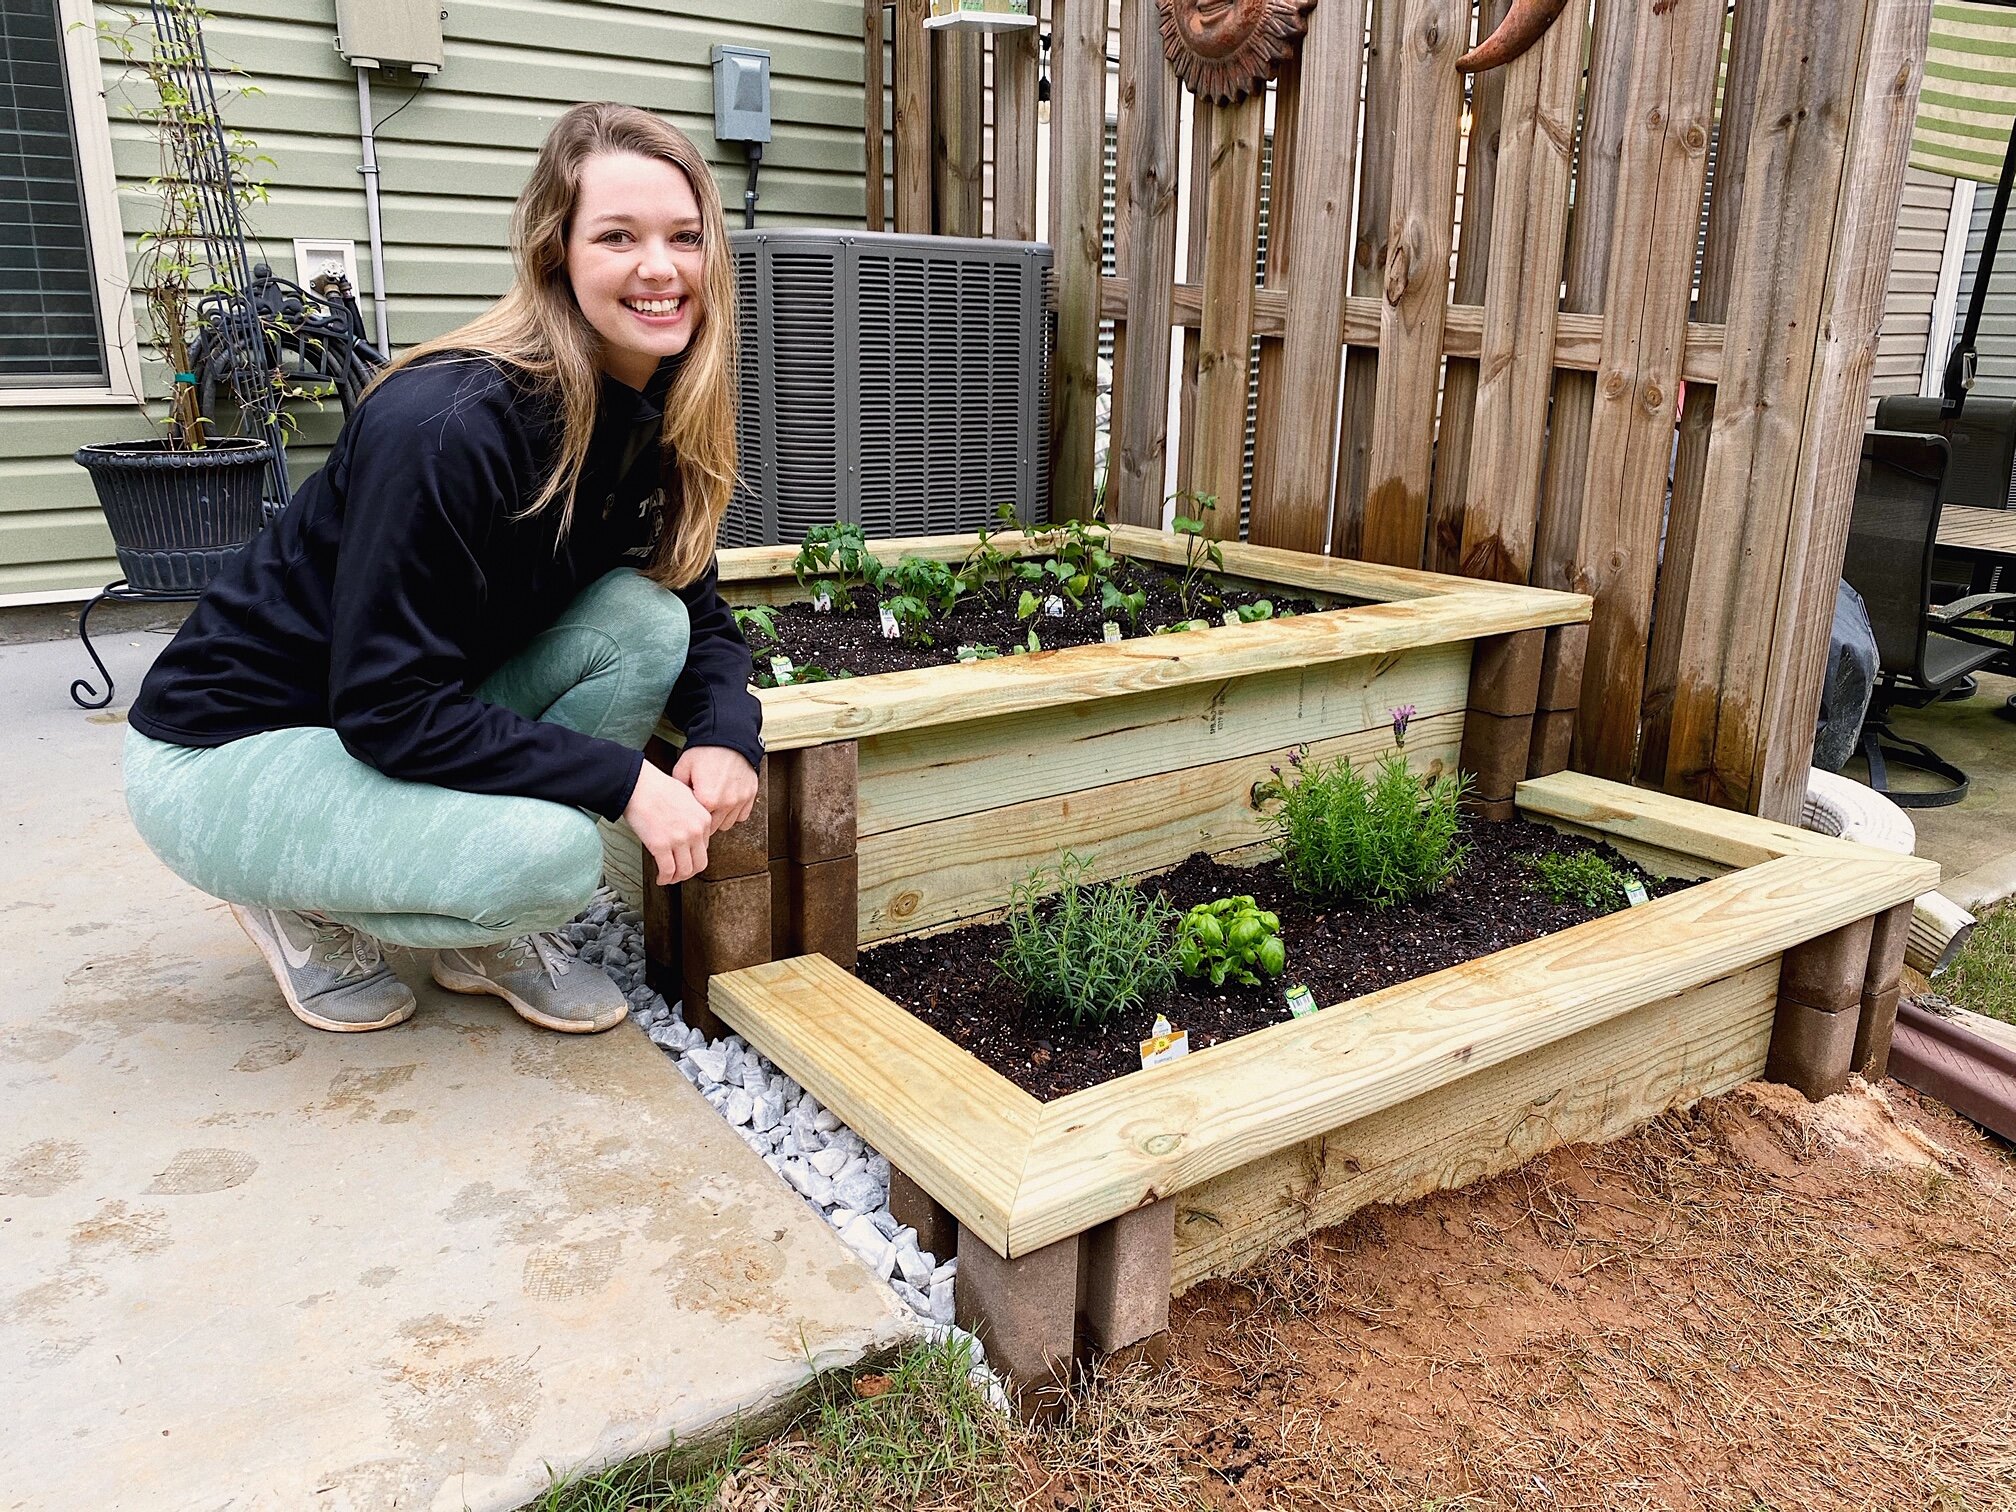
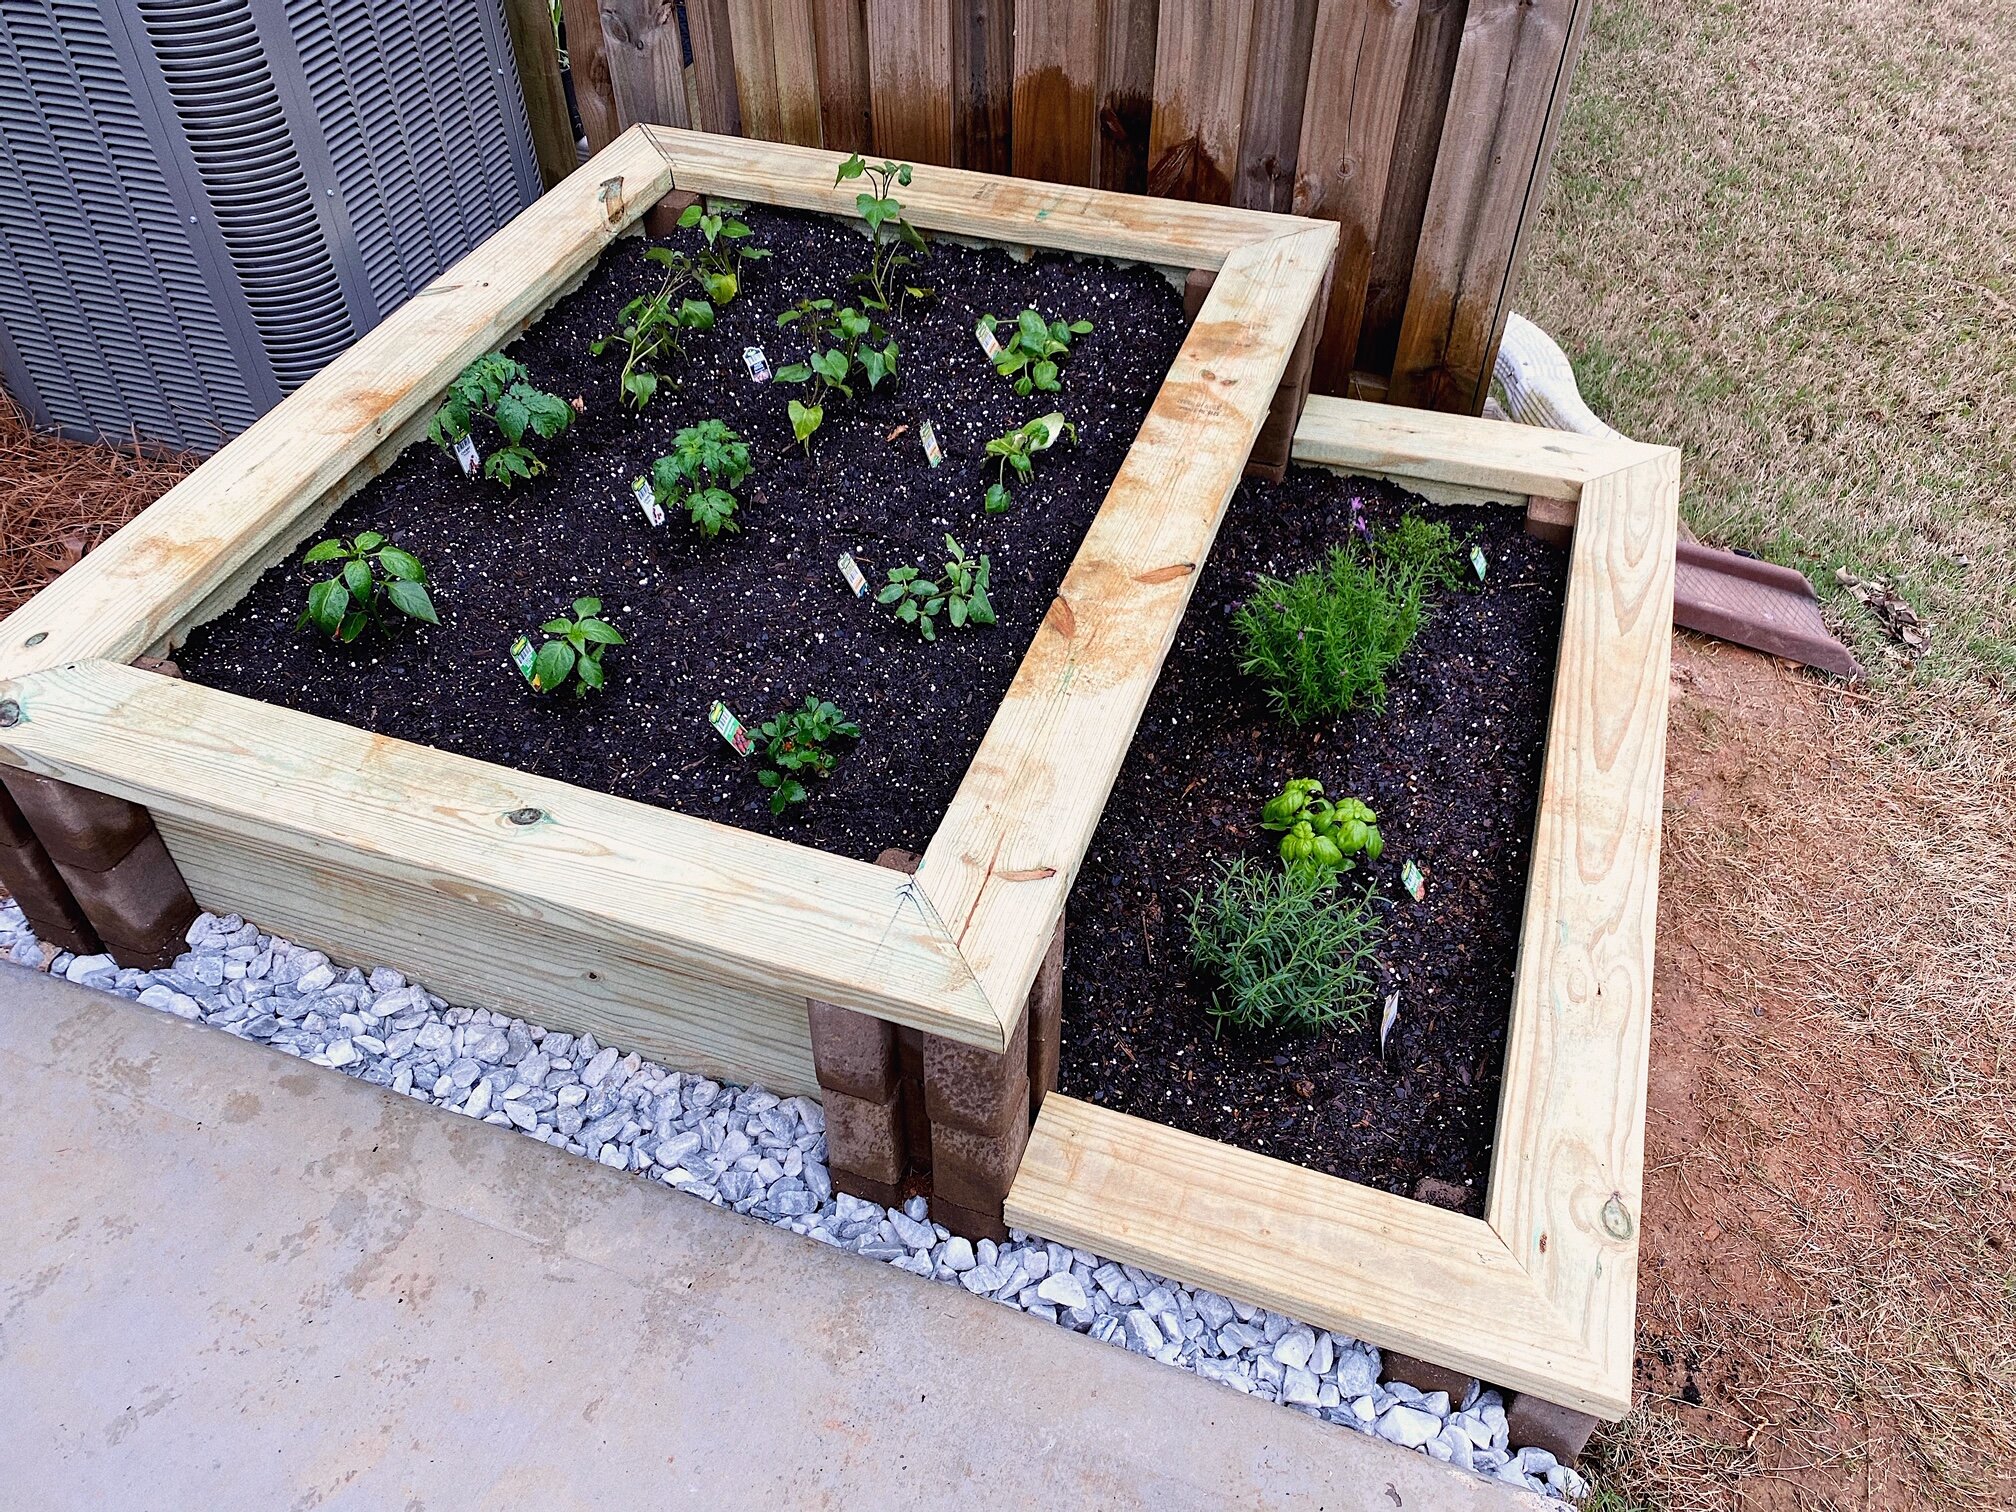
In the back of my house, there was this ugly patch of unused grass. What better to do with it than build a garden bed! I had plenty of time on my hands and a helper, so we made it our weekend project. We went with a raised bed for a couple of reasons. They work well with limited space and soil/sunlight restrictions and also help keep away animals! Georgia’s soil is this super compact, red clay that is terrible to try to plant anything in. Having the garden bed I can fill with the proper soil is so much better.
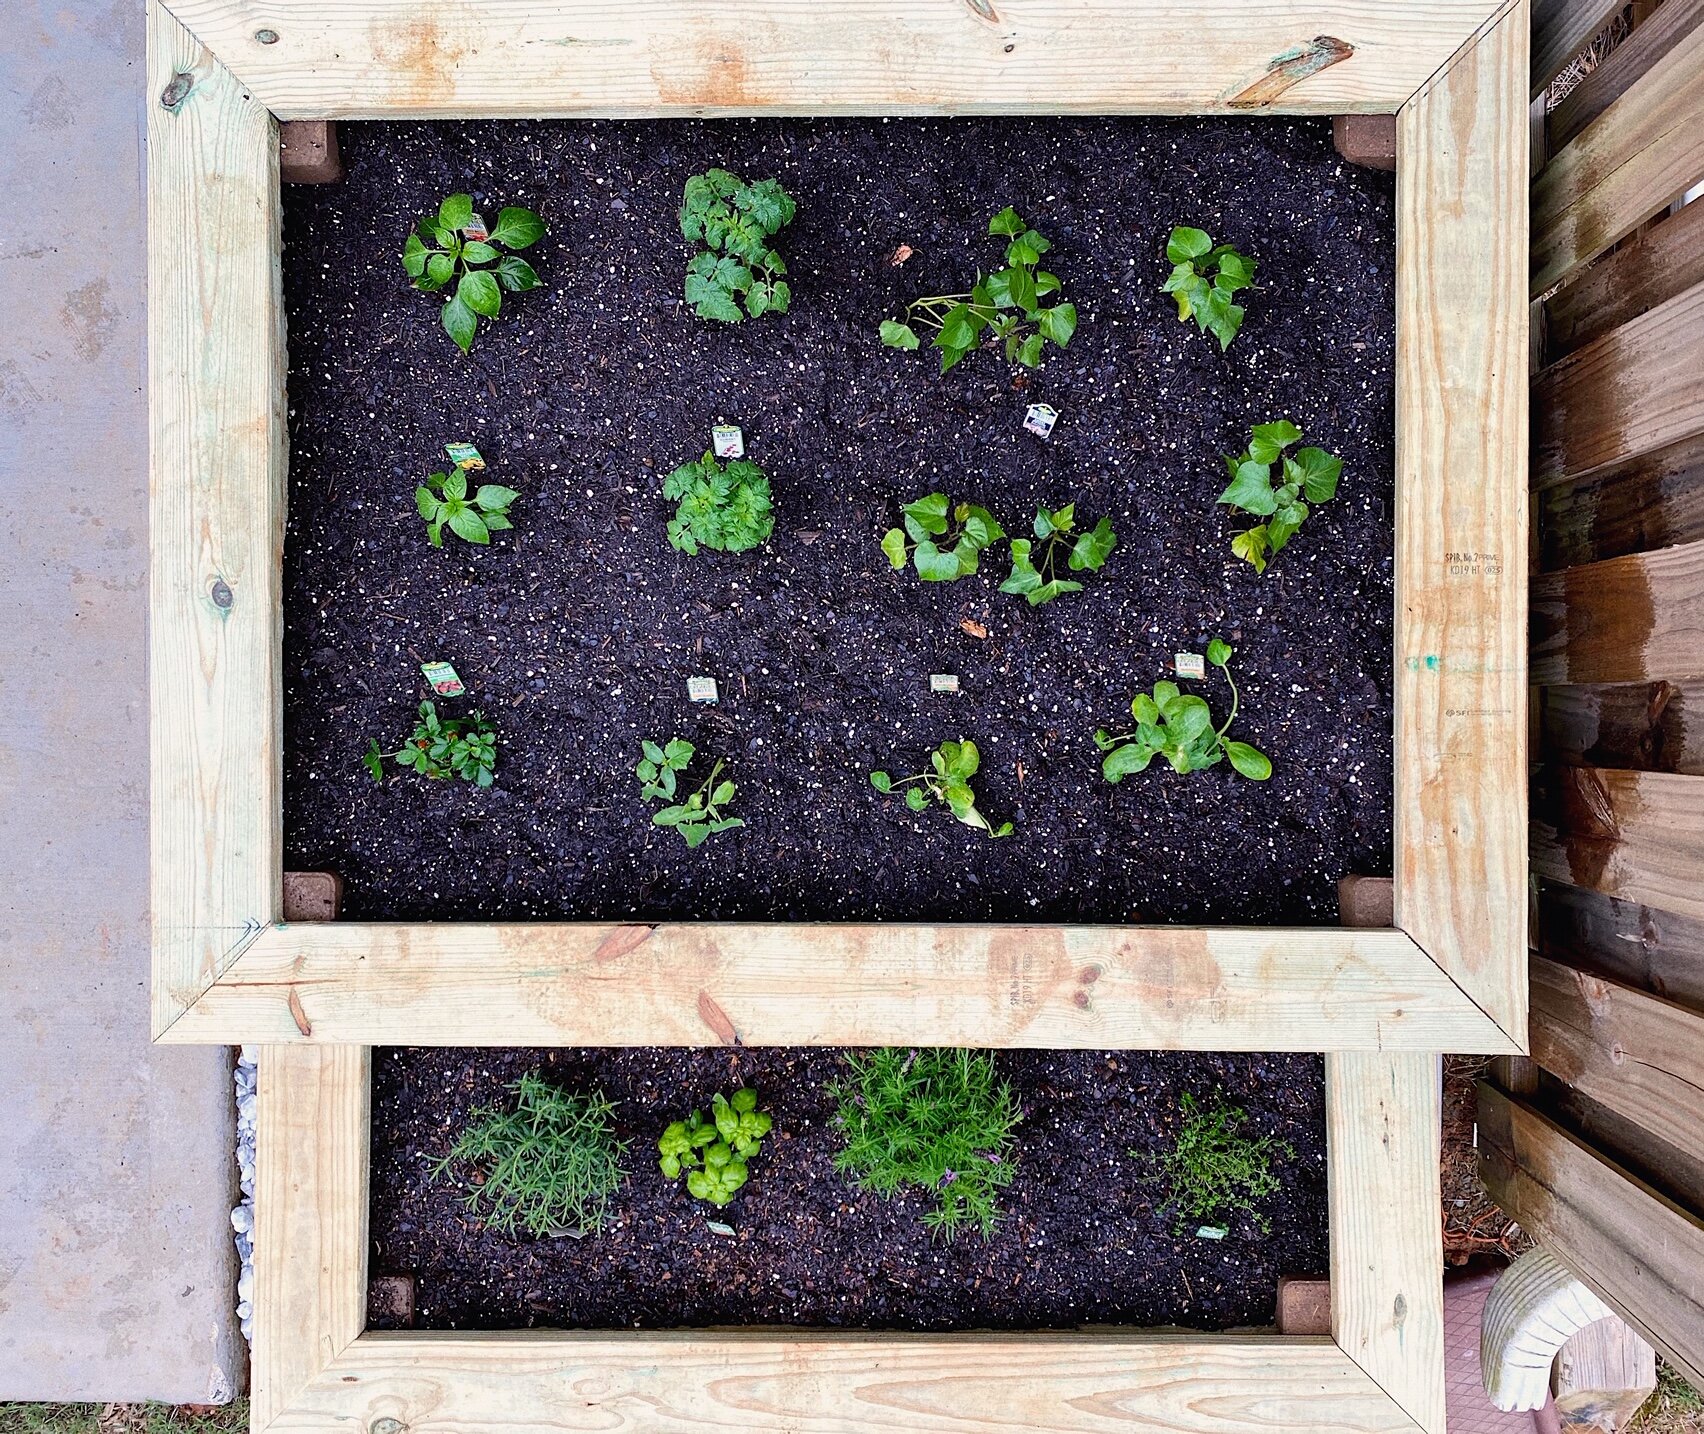
The bed can be made out of any combination of materials that would allow you to build a base at least 12 inches deep. Be wise when choosing the location! It should be one that gets at least 6 hours of sunlight a day. You can pretty much plant anything in a raised bed. People don’t recommend growing potatoes or corn in them, but I decided to try some sweet potatoes. A questionable move for sure, but we will see how it goes.
What you need
Plants of your choosing
A note about the lumber: Definitely use pressure treated wood because it’s more resistant to rot and mother nature than untreated wood.
How to do it
Measure out the dimensions of your desired garden bed, and be sure it will fit in the space you want! Once it’s measured and marked, start digging! If you want multiple levels, carve them out while digging (optional). Be sure the ground is level.

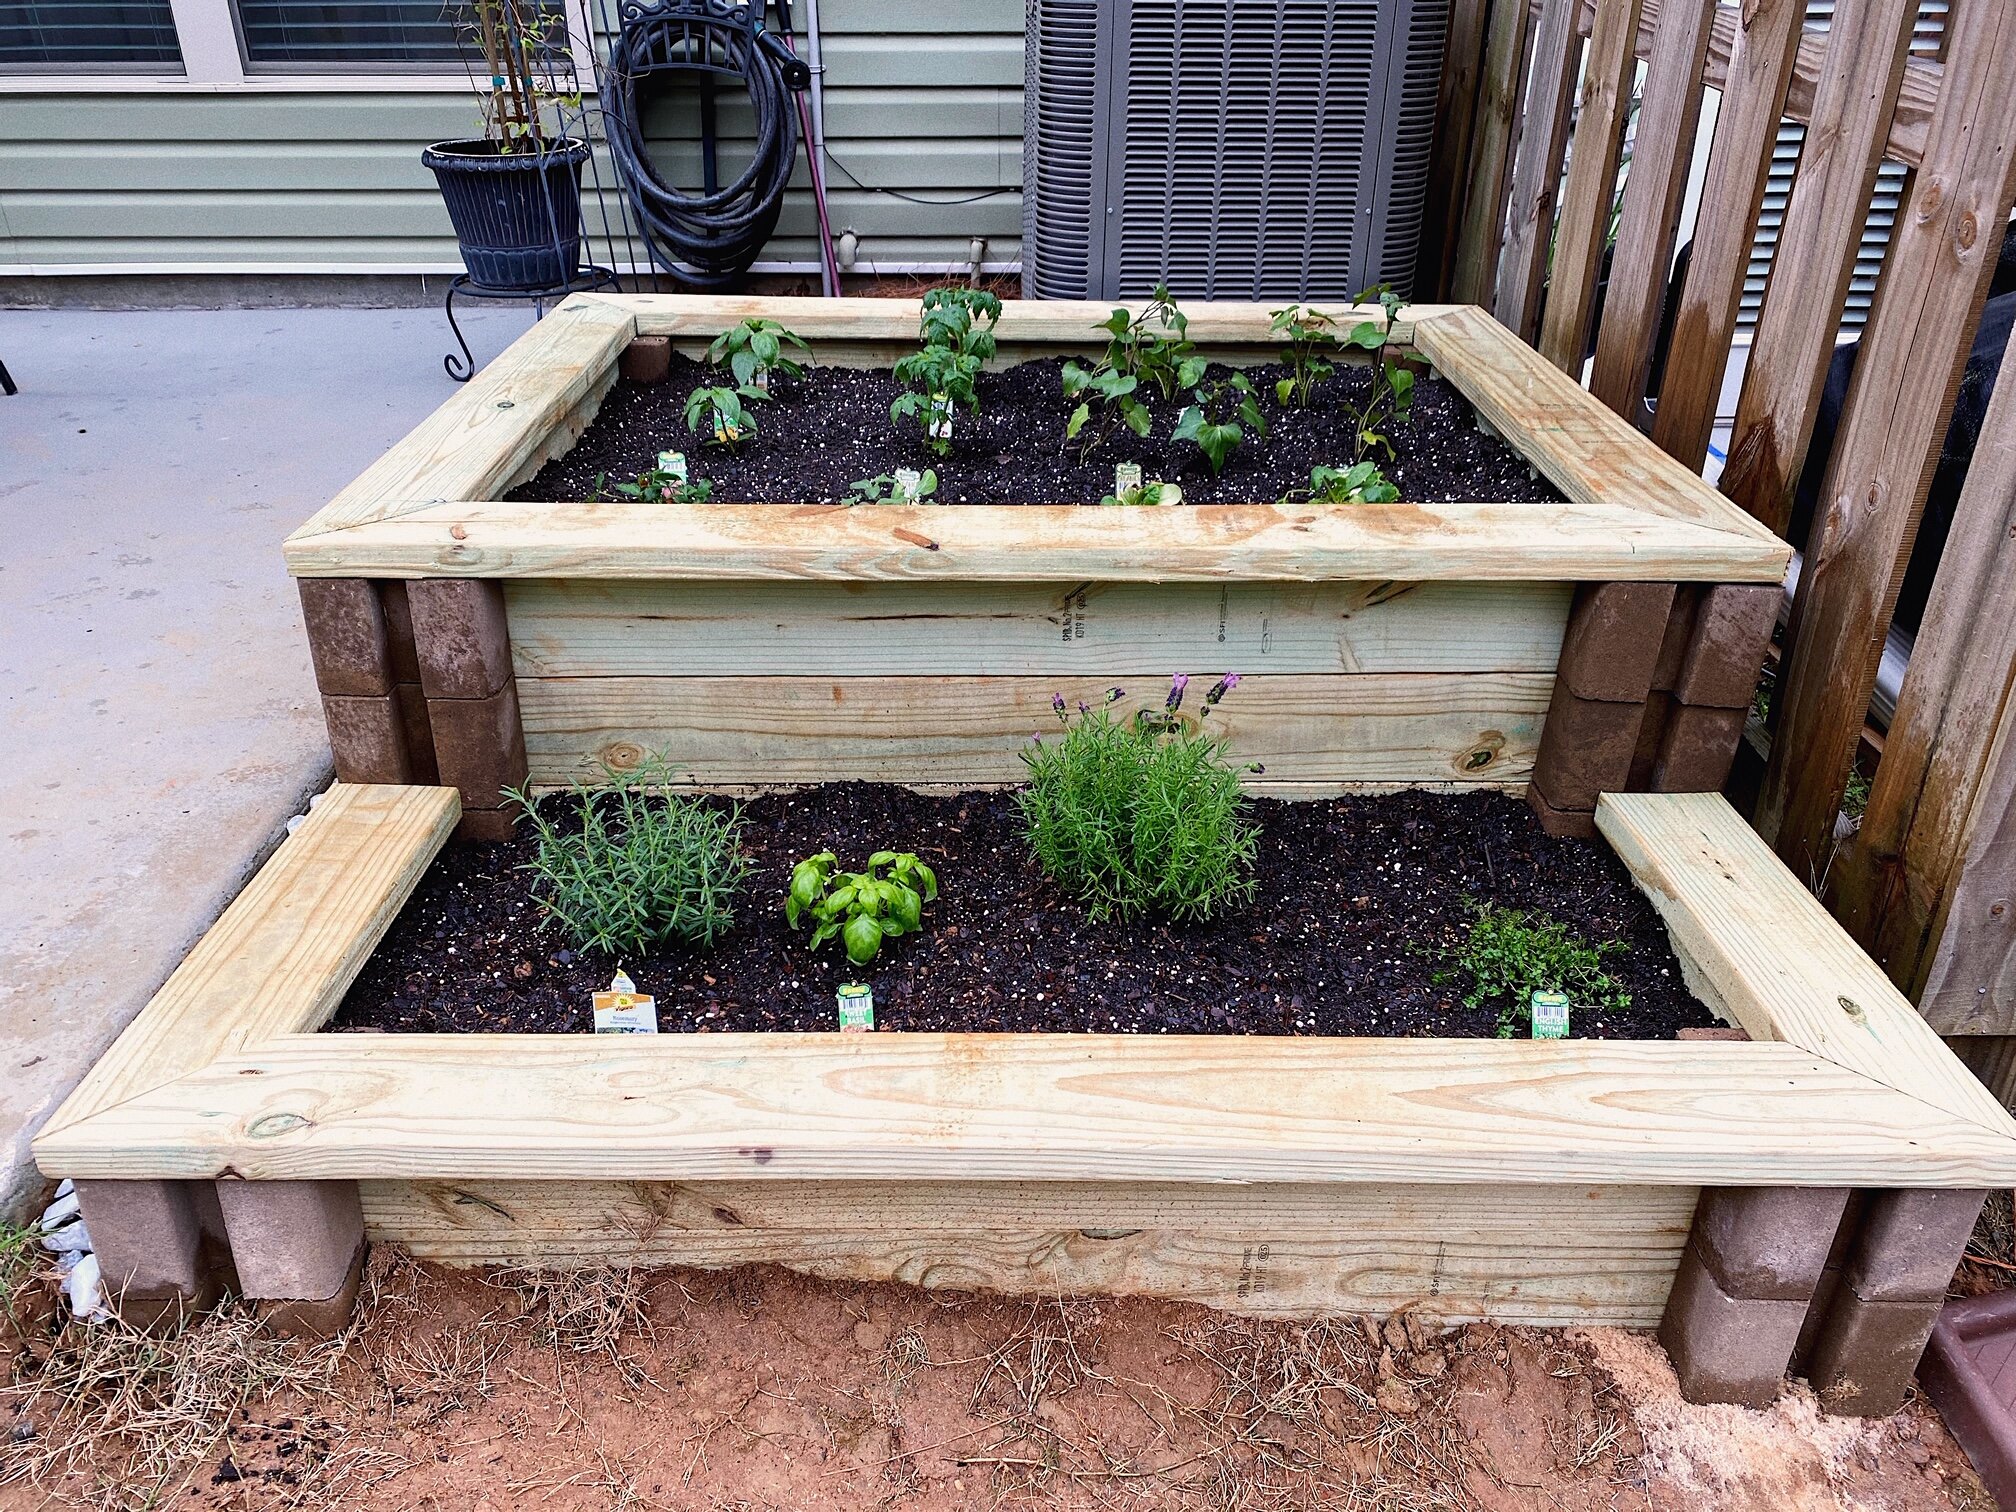
2. For the lower tier, Tim cut the wood to 50 inches x 18 inches using a circular saw and speed square to keep the edges straight. The top tier was 50 inches x 36 inches. Make sure to factor in the size of the planter wall blocks when measuring your wood for cutting.
3. Once it’s dug, start with a planter wall block. Use a hard flat object (such as a piece of scrap wood) and the drilling hammer to compact and level out the spot where the block will go. Use the sand to make sure it’s perfectly level. Once the wall block is level and in place, move on to the next block and repeat.
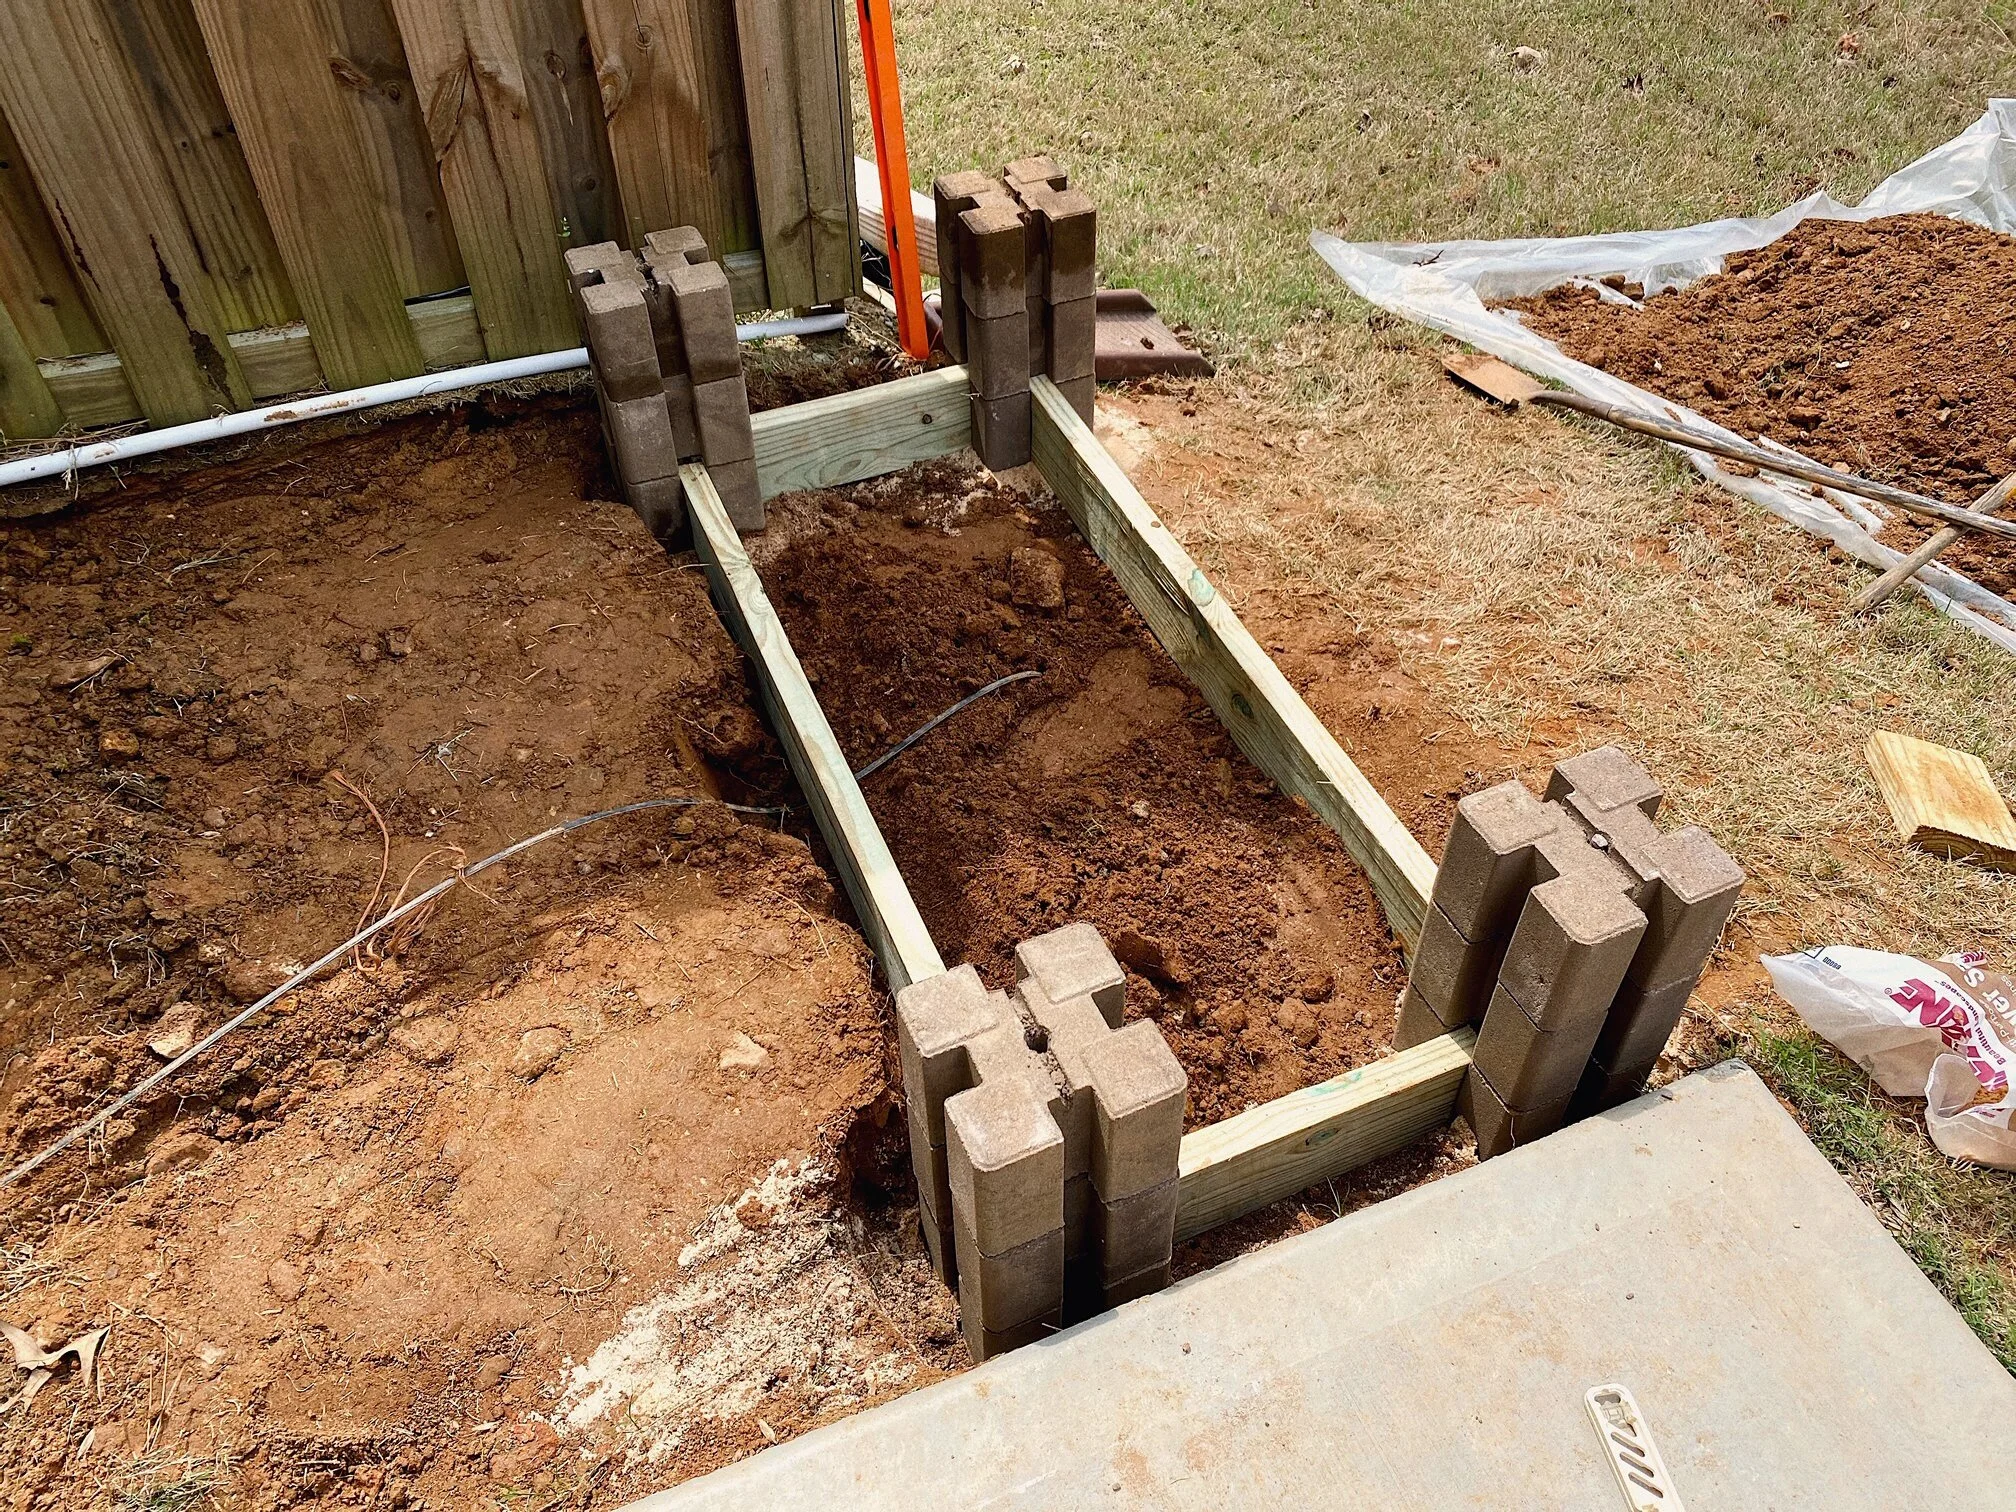
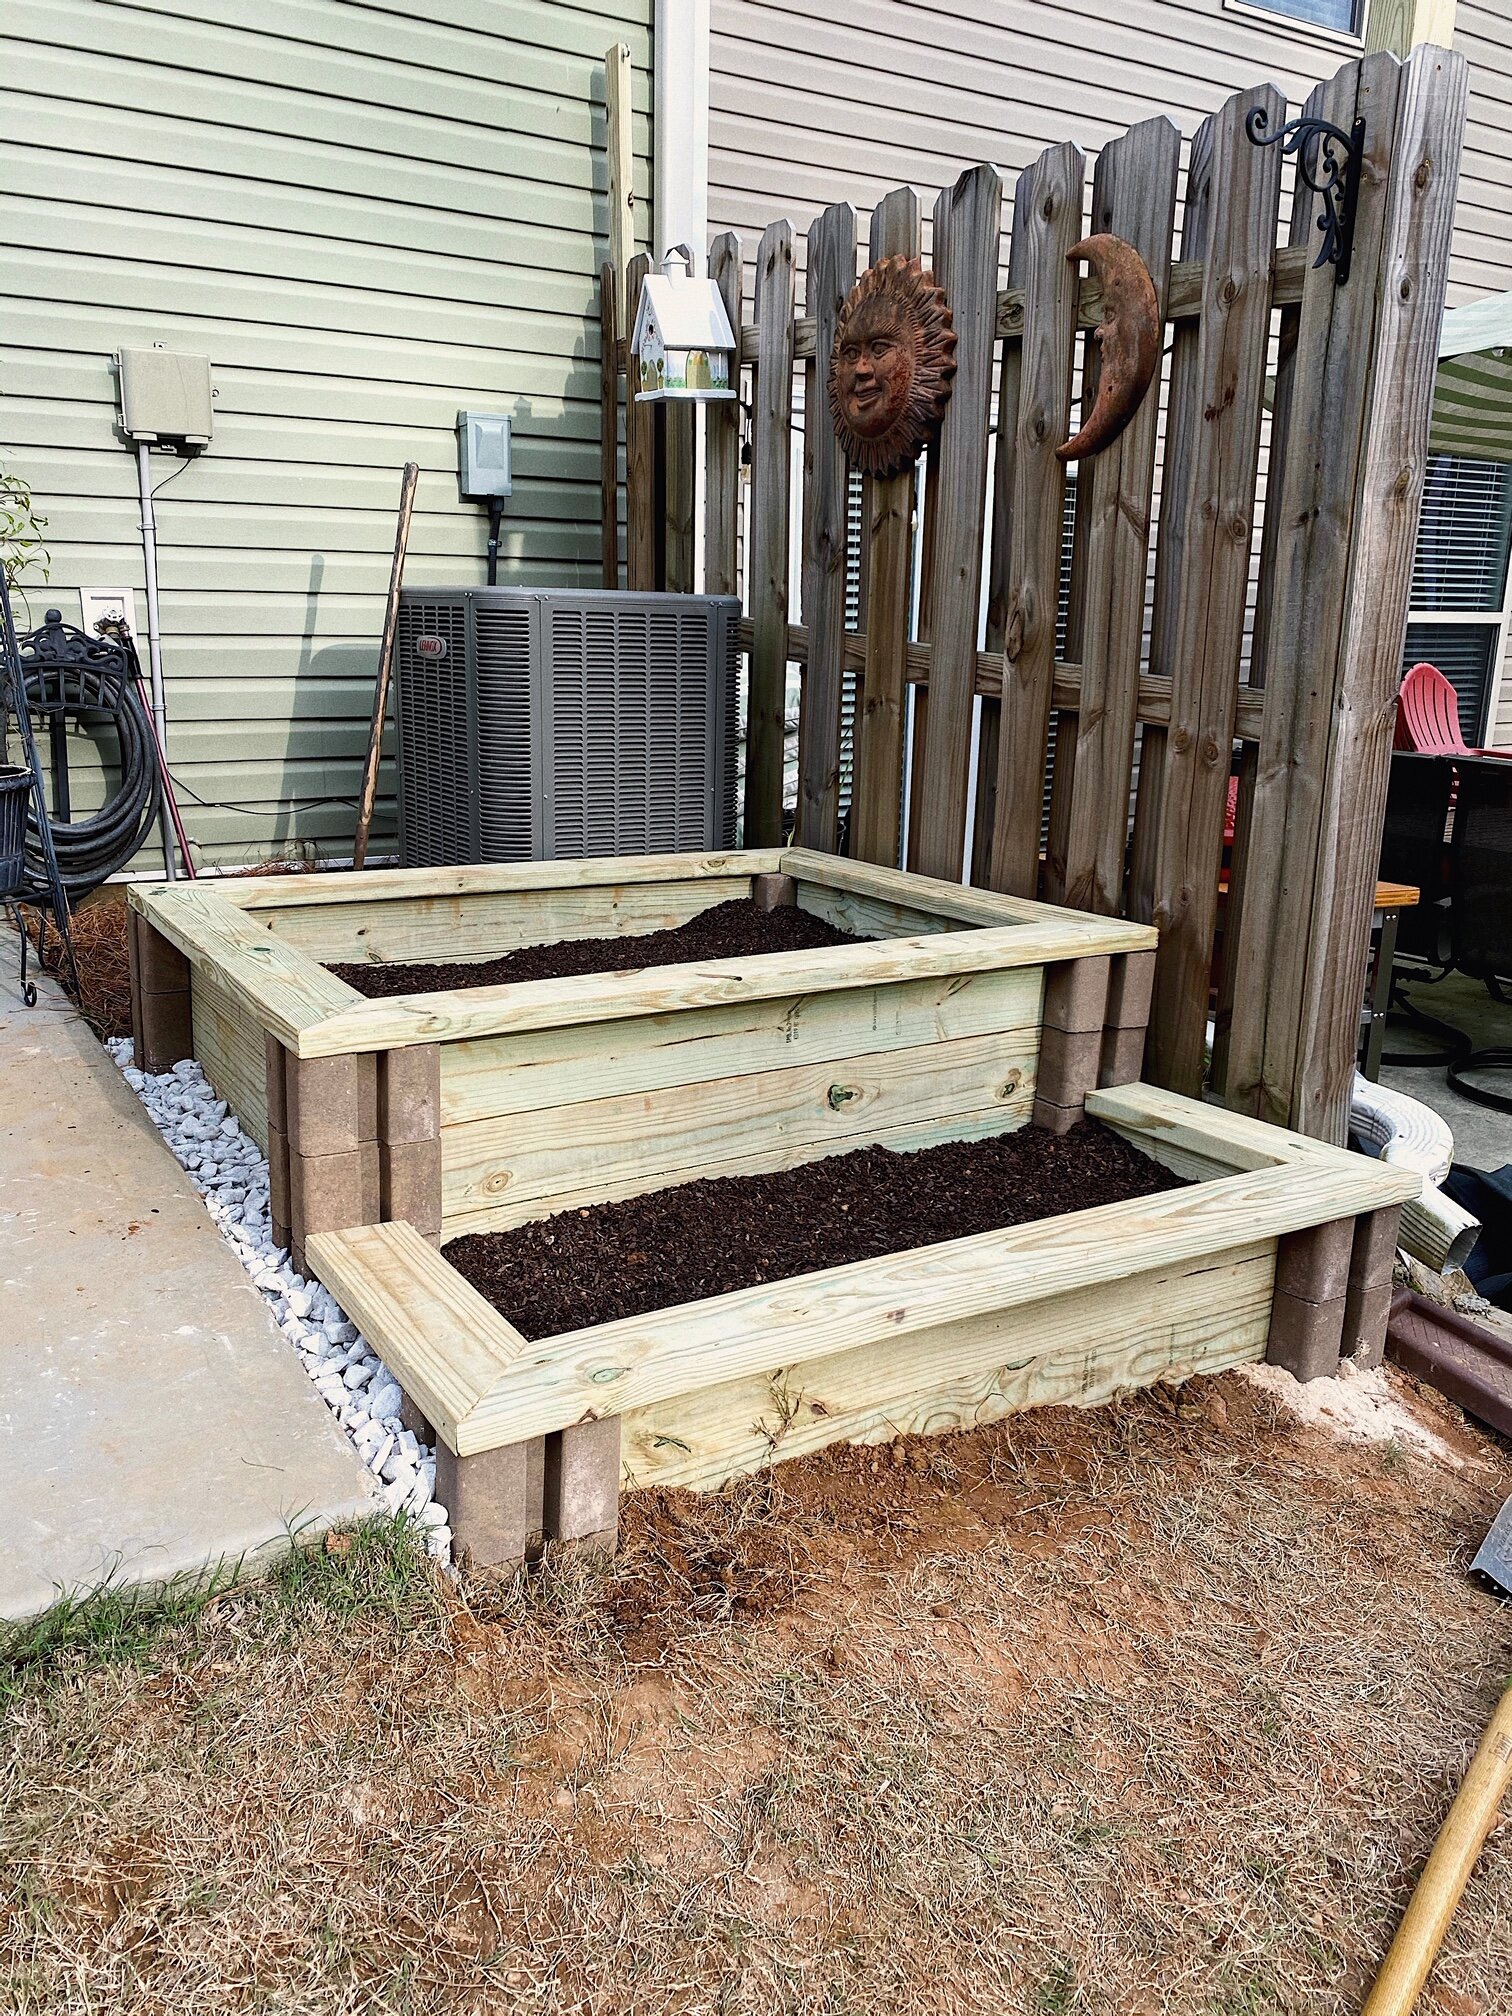
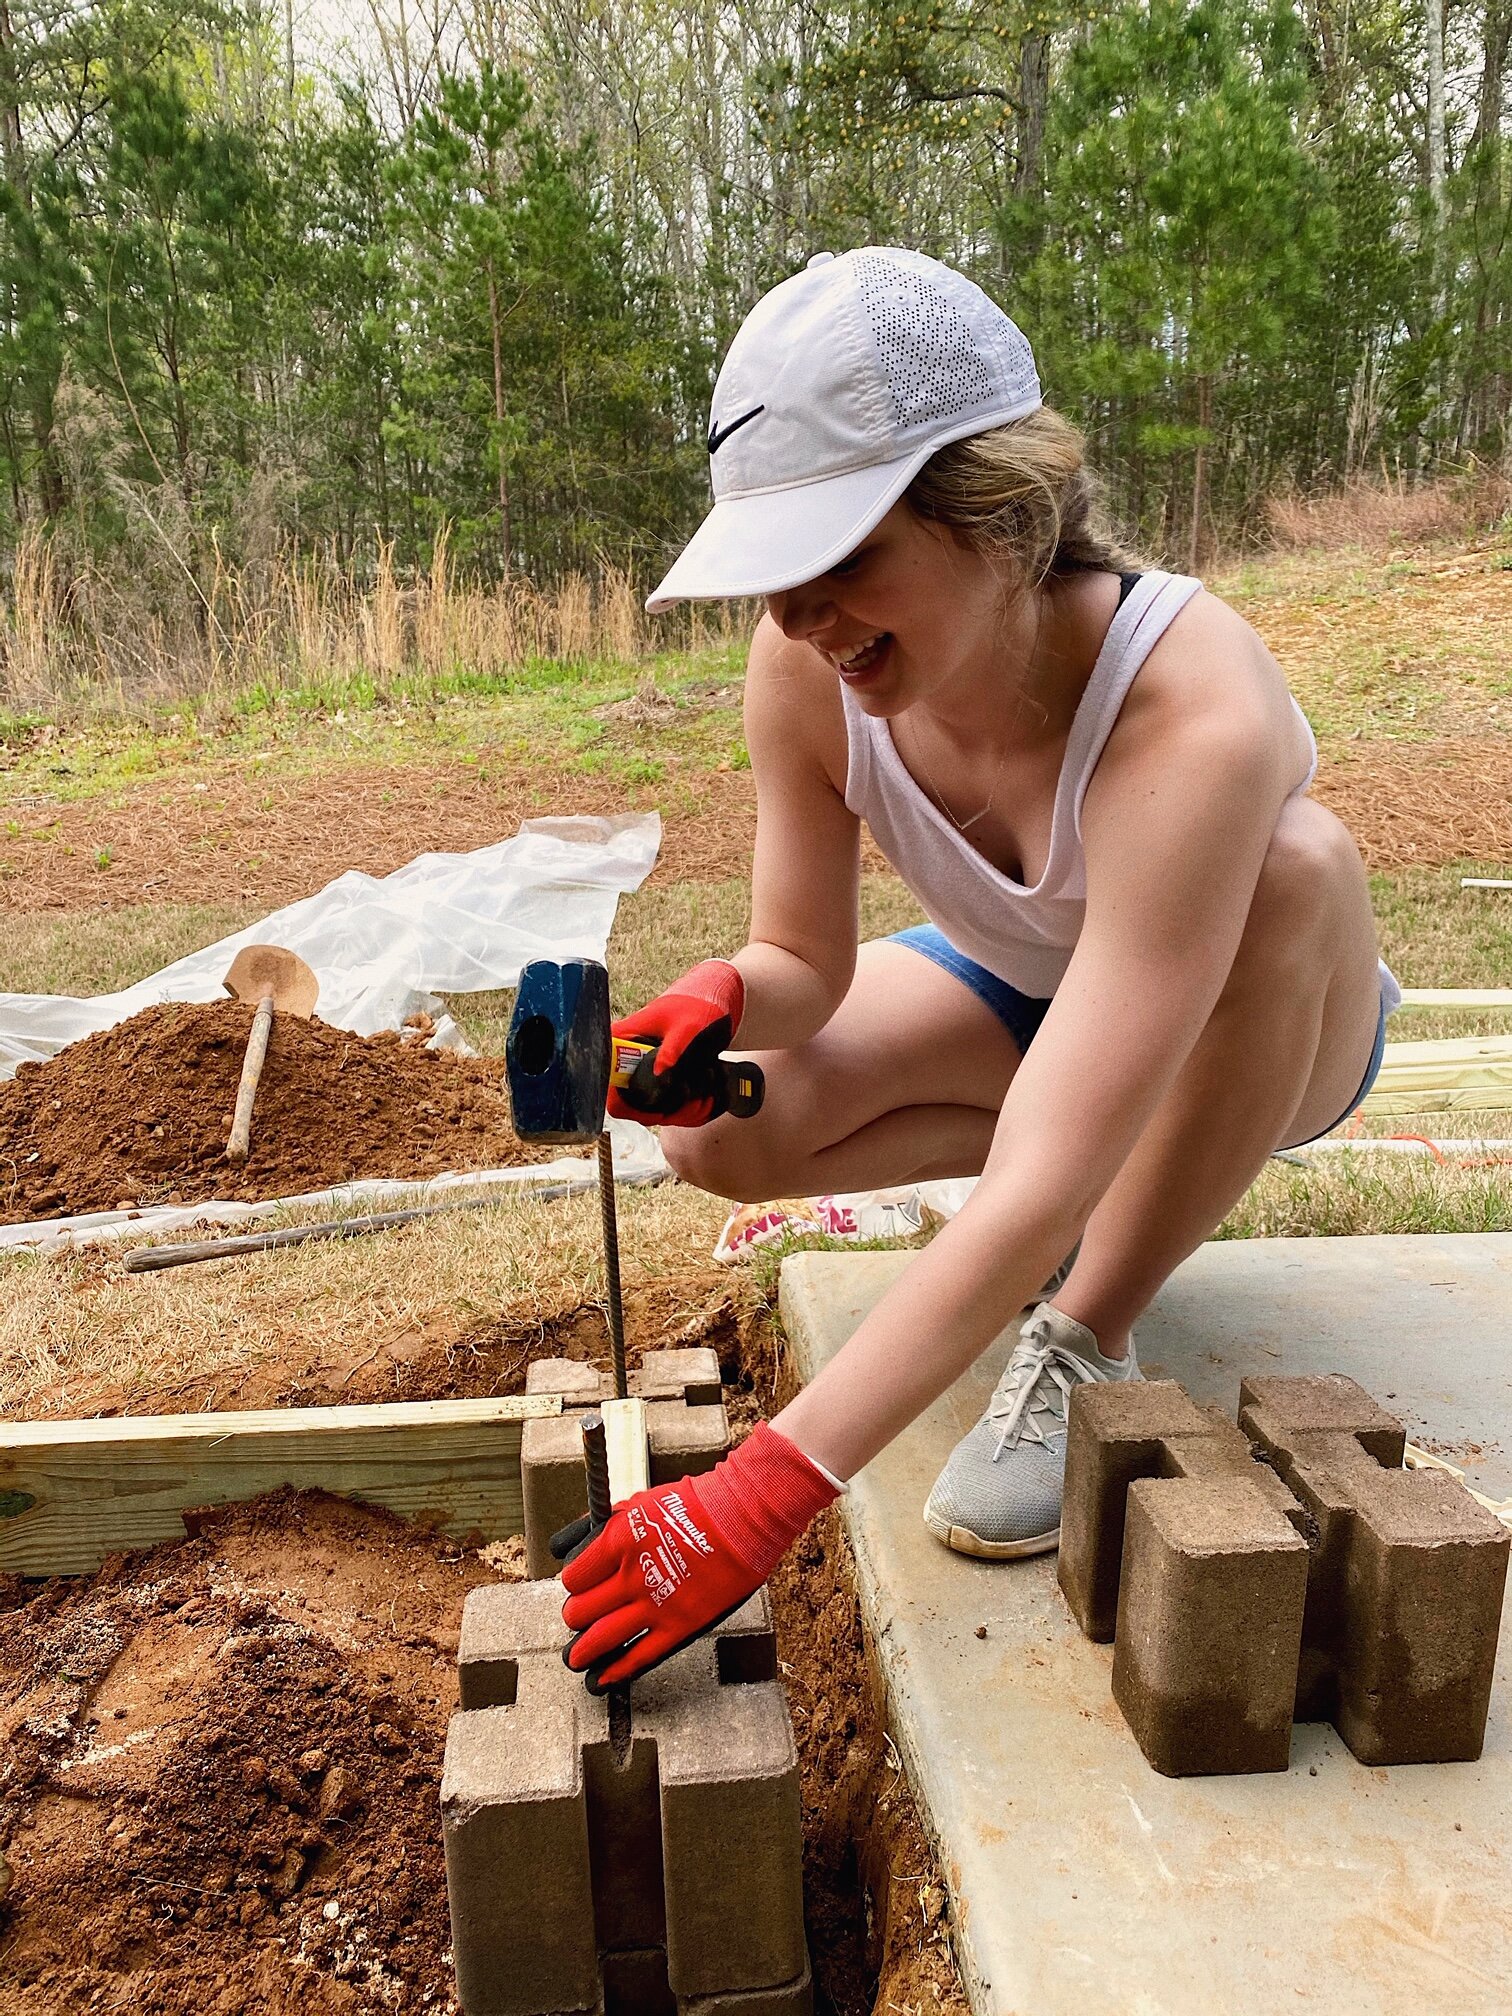
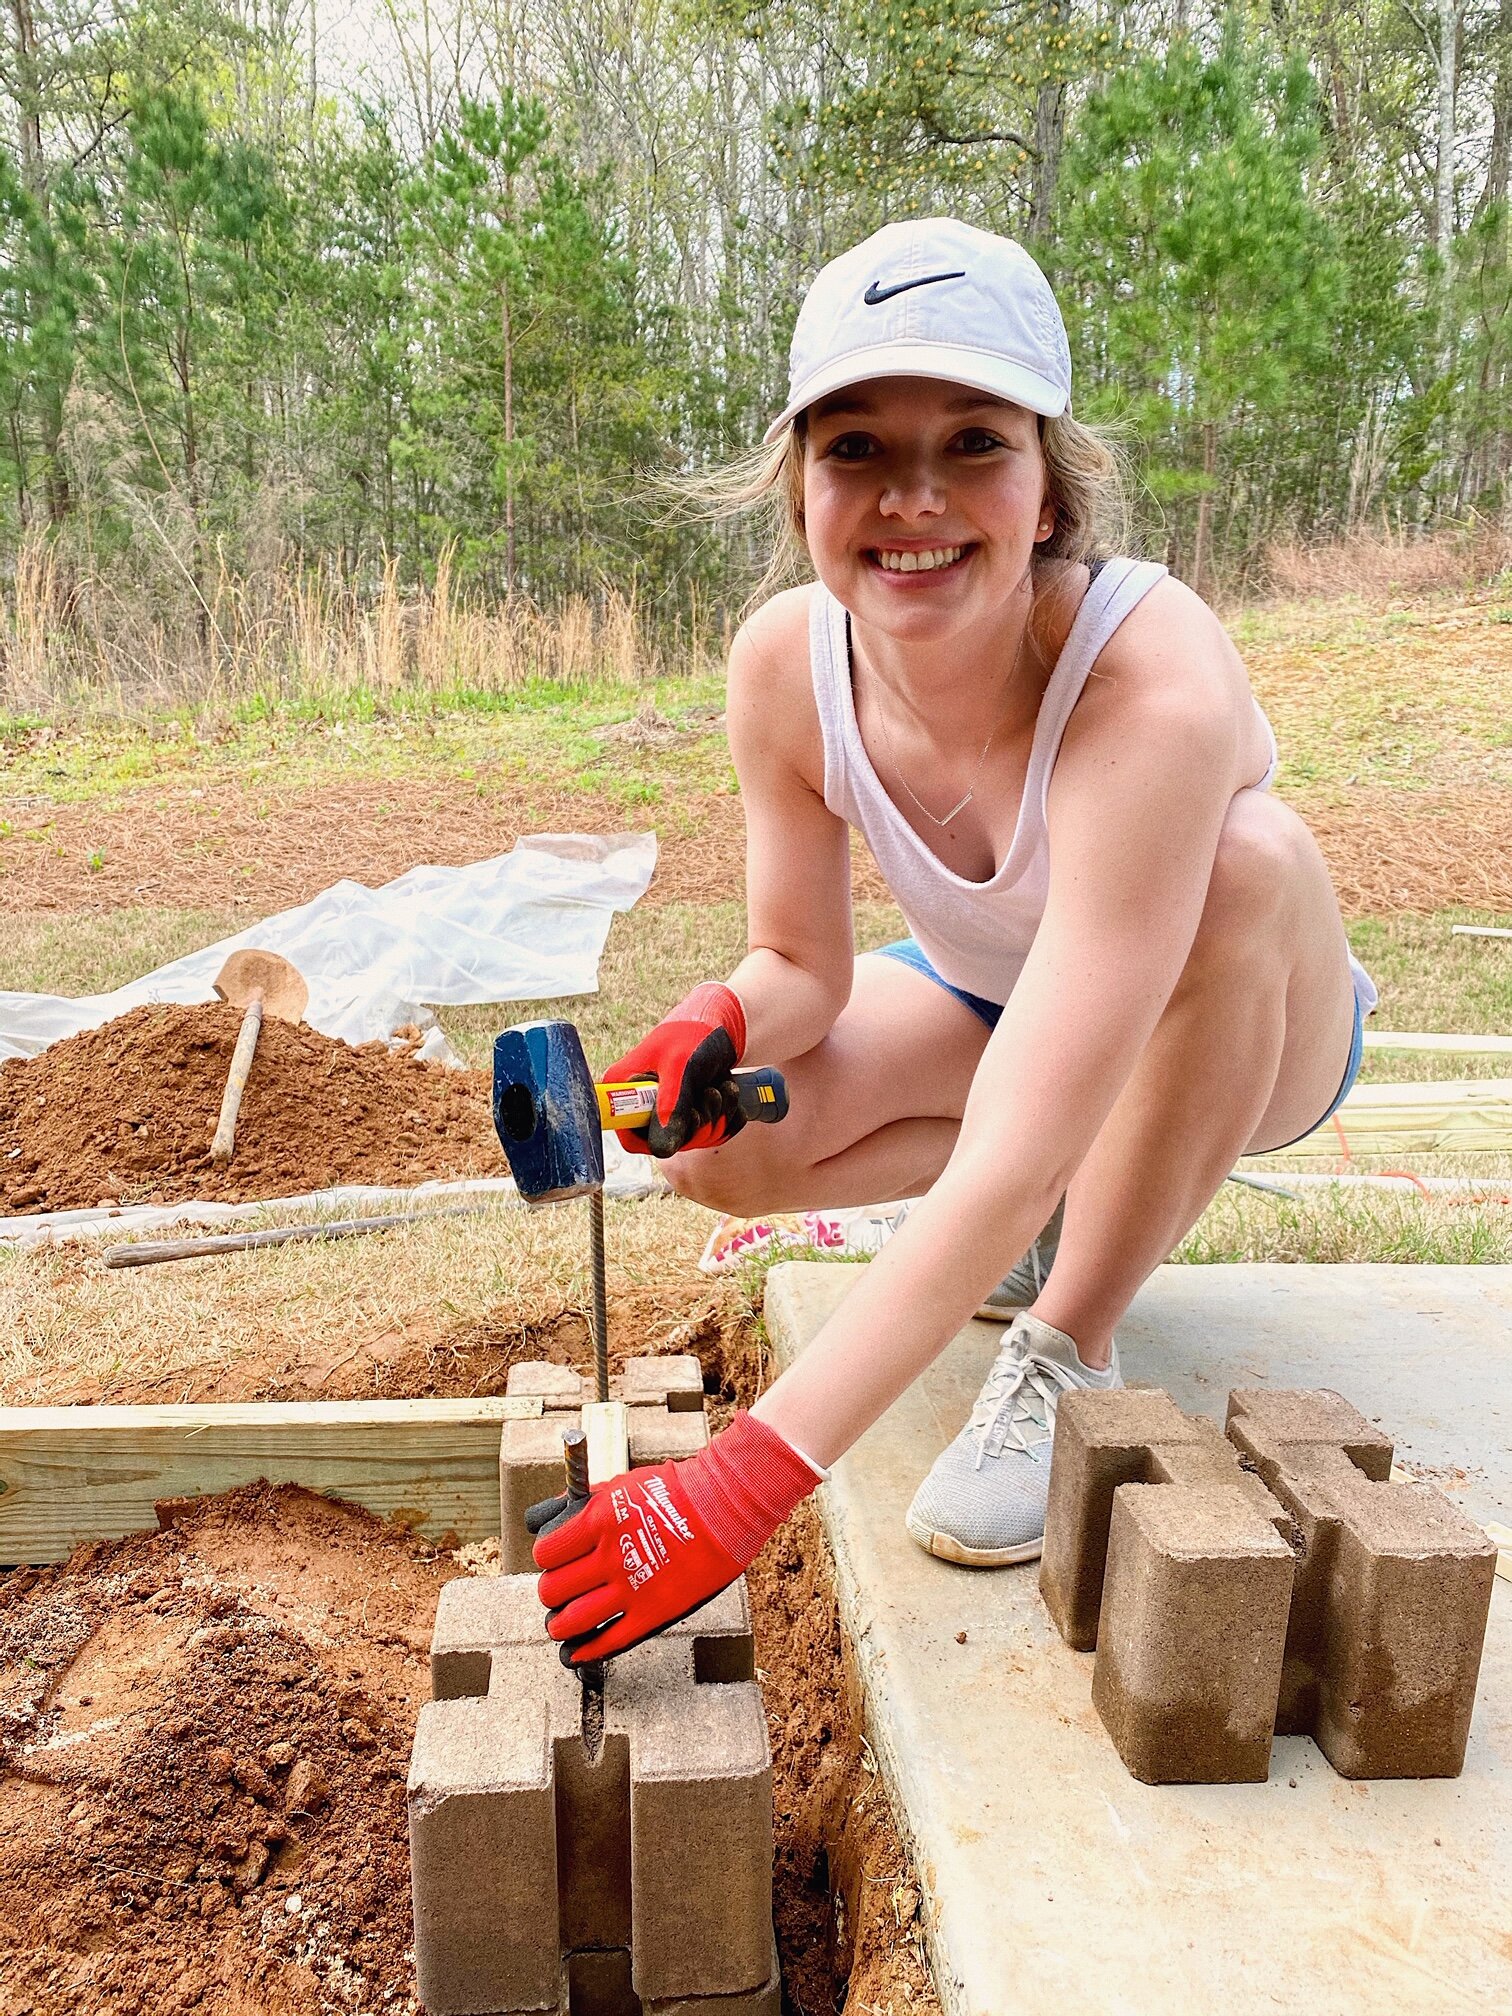
4. Once you have two blocks in a line, slide the corresponding piece of wood in the slats on the block. Do this for all sides of the garden until you have a base. Then, stack the remaining blocks to the desired height of your bed. To finish this step, take the rebar and drive it into the ground through the holes in the wall blocks using the drilling hammer. The rebar is to make sure the structure stays in place and doesn’t shift when it rains, etc. It should look something like this.
5. Continue to add the wood to the slats until you have all walls at the desired height! For a tighter fit, use the deck screws to screw the boards together.
6. To add a nice finishing touch, Tim built a nice bench to put around the top. You can choose to make these cuts straight or miter them for a nice finished look.
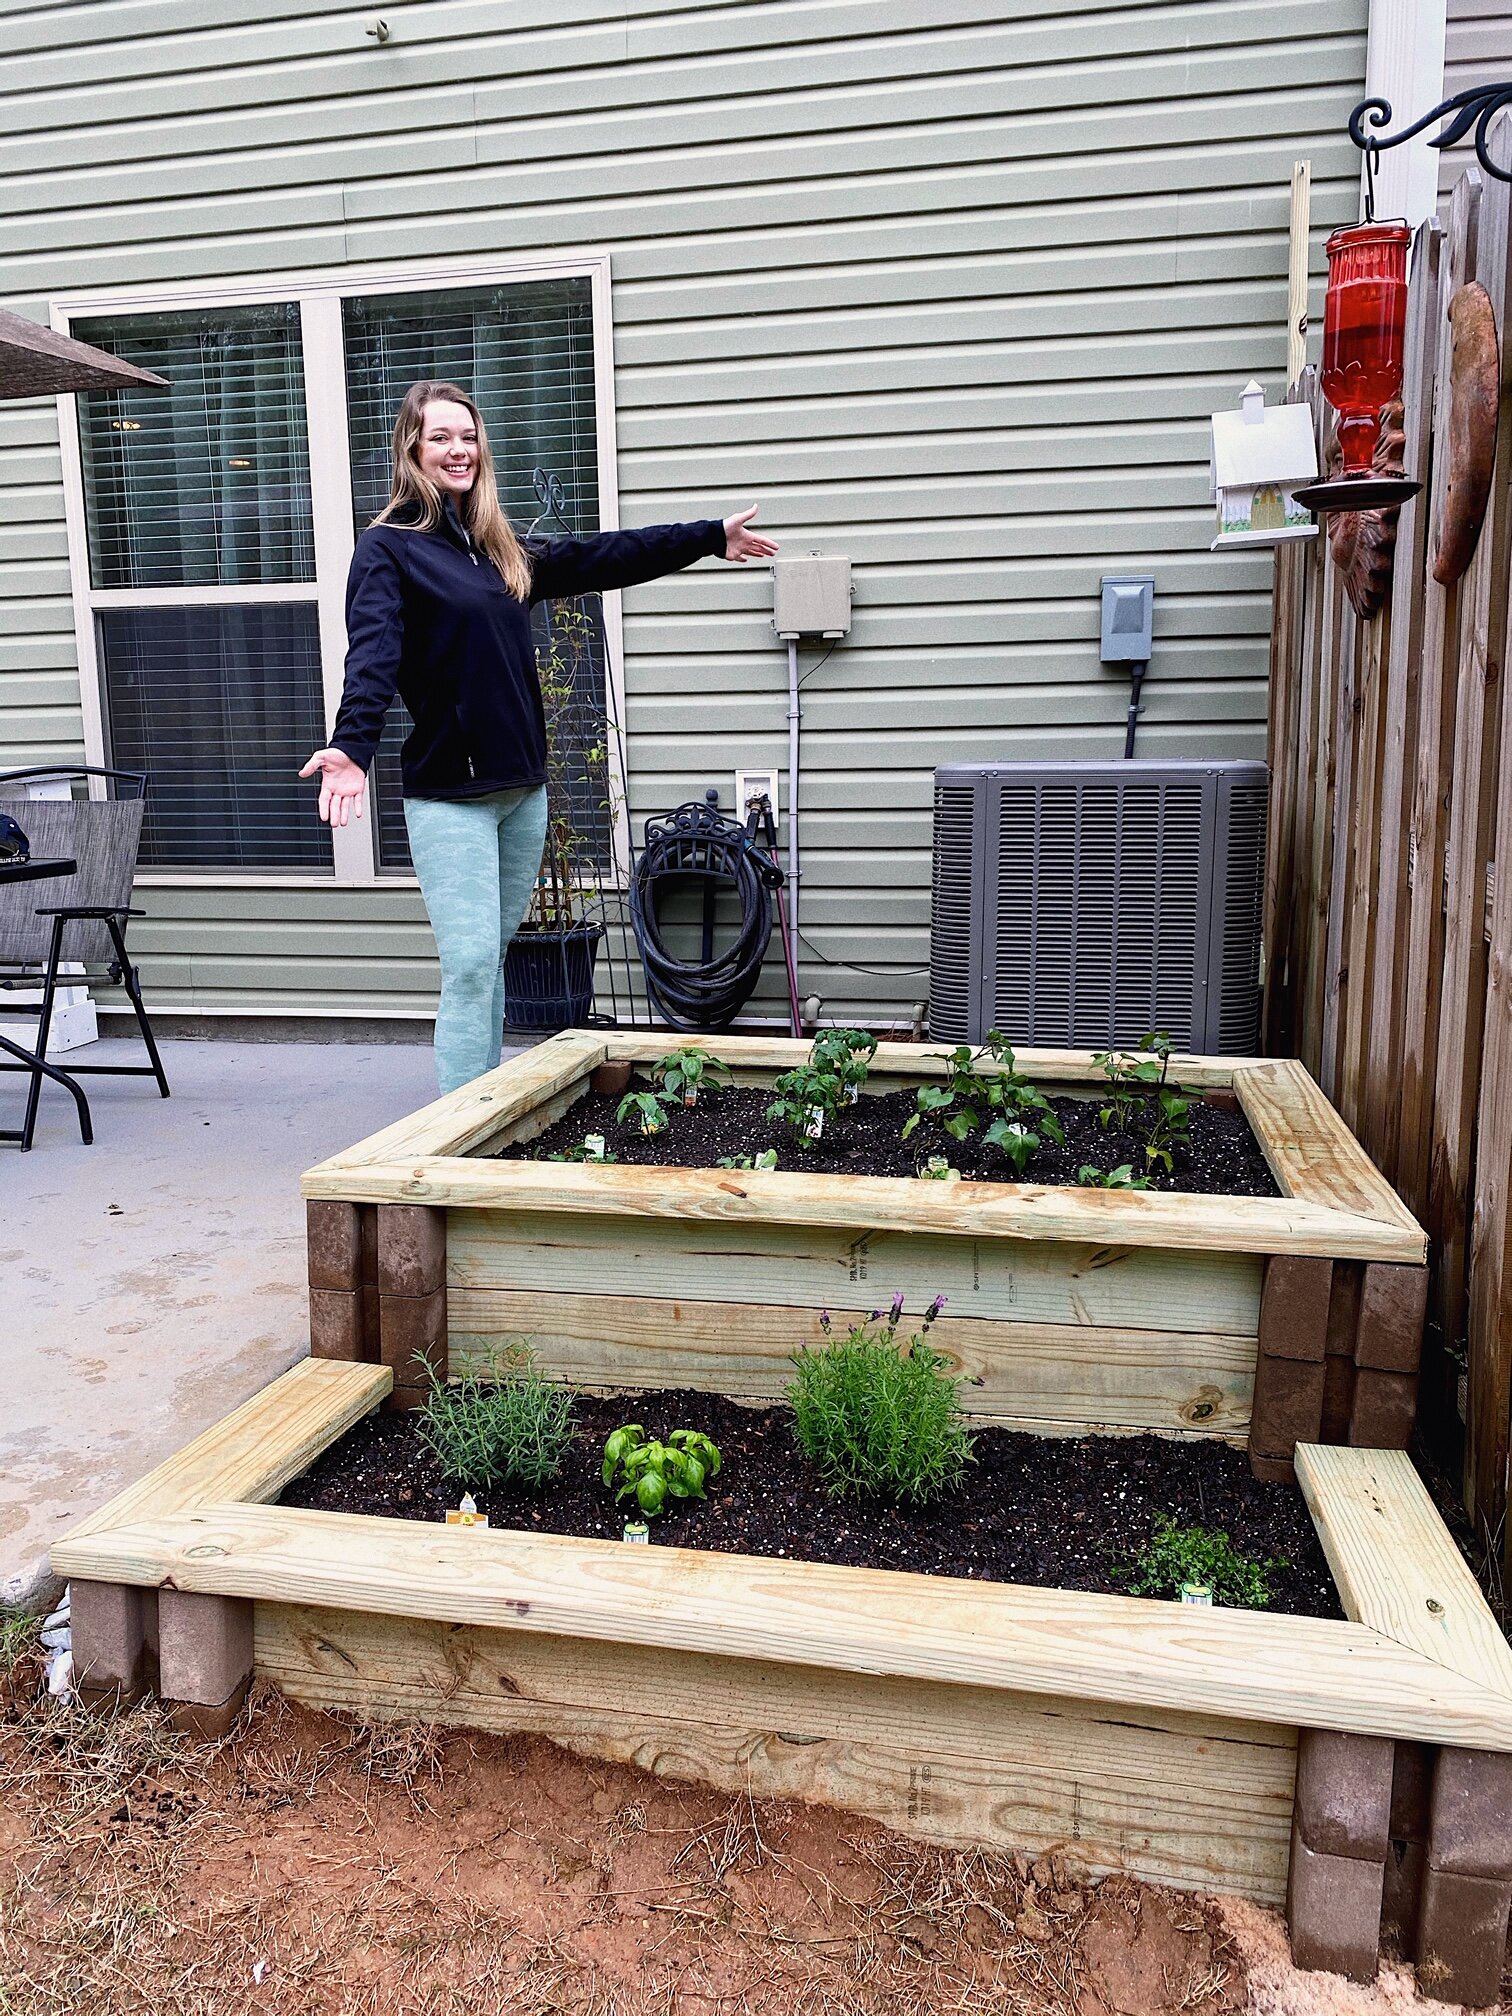
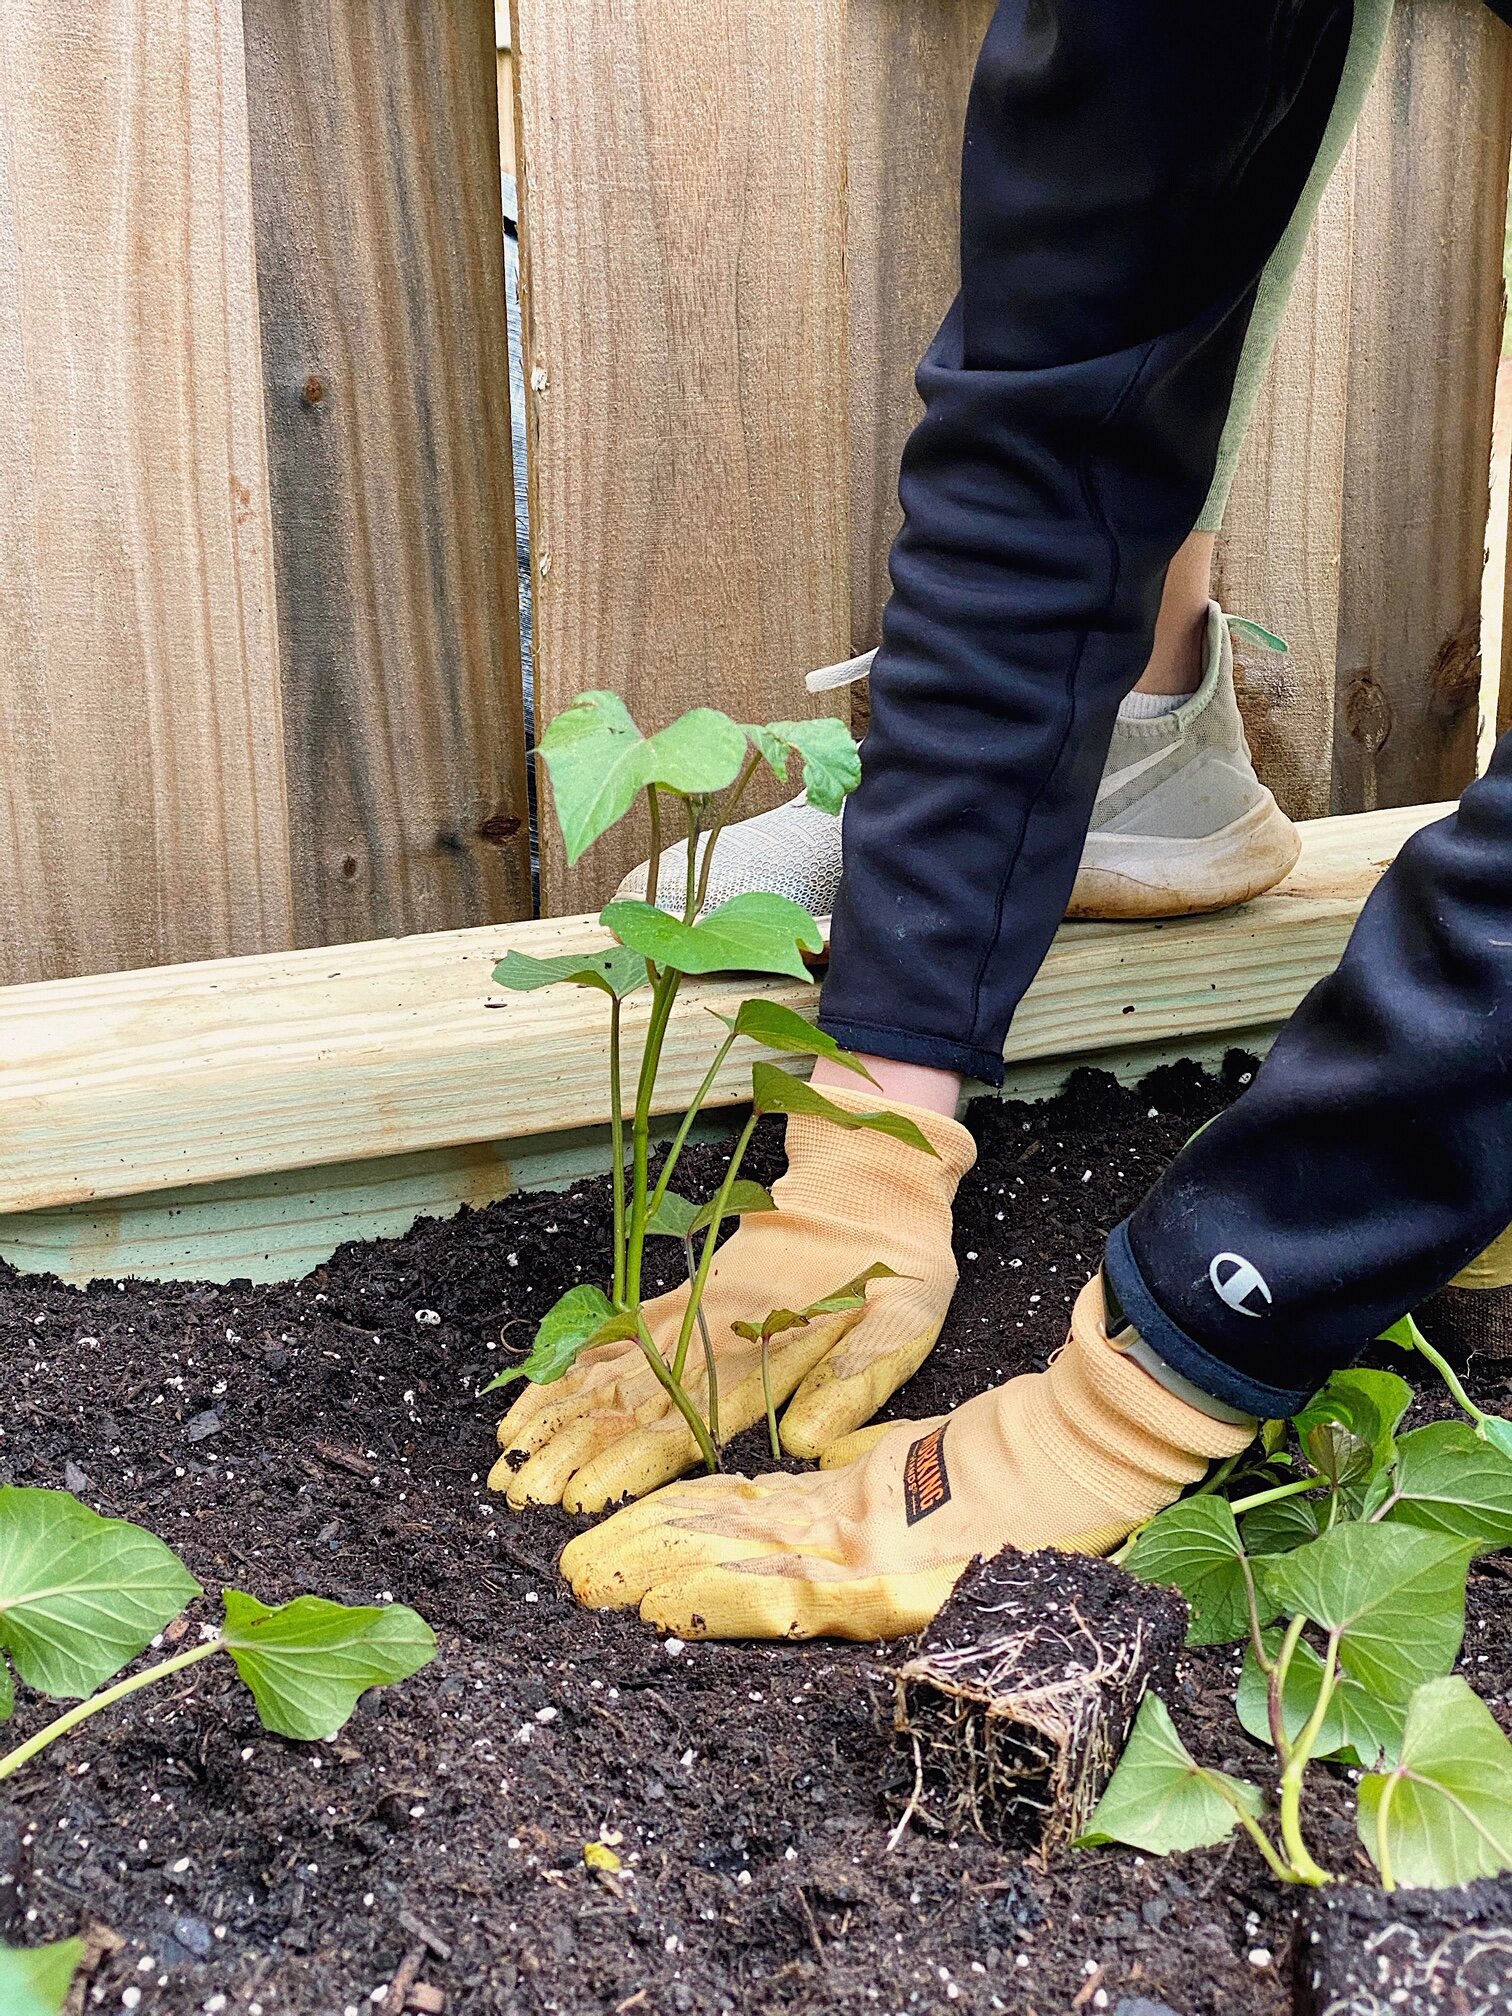
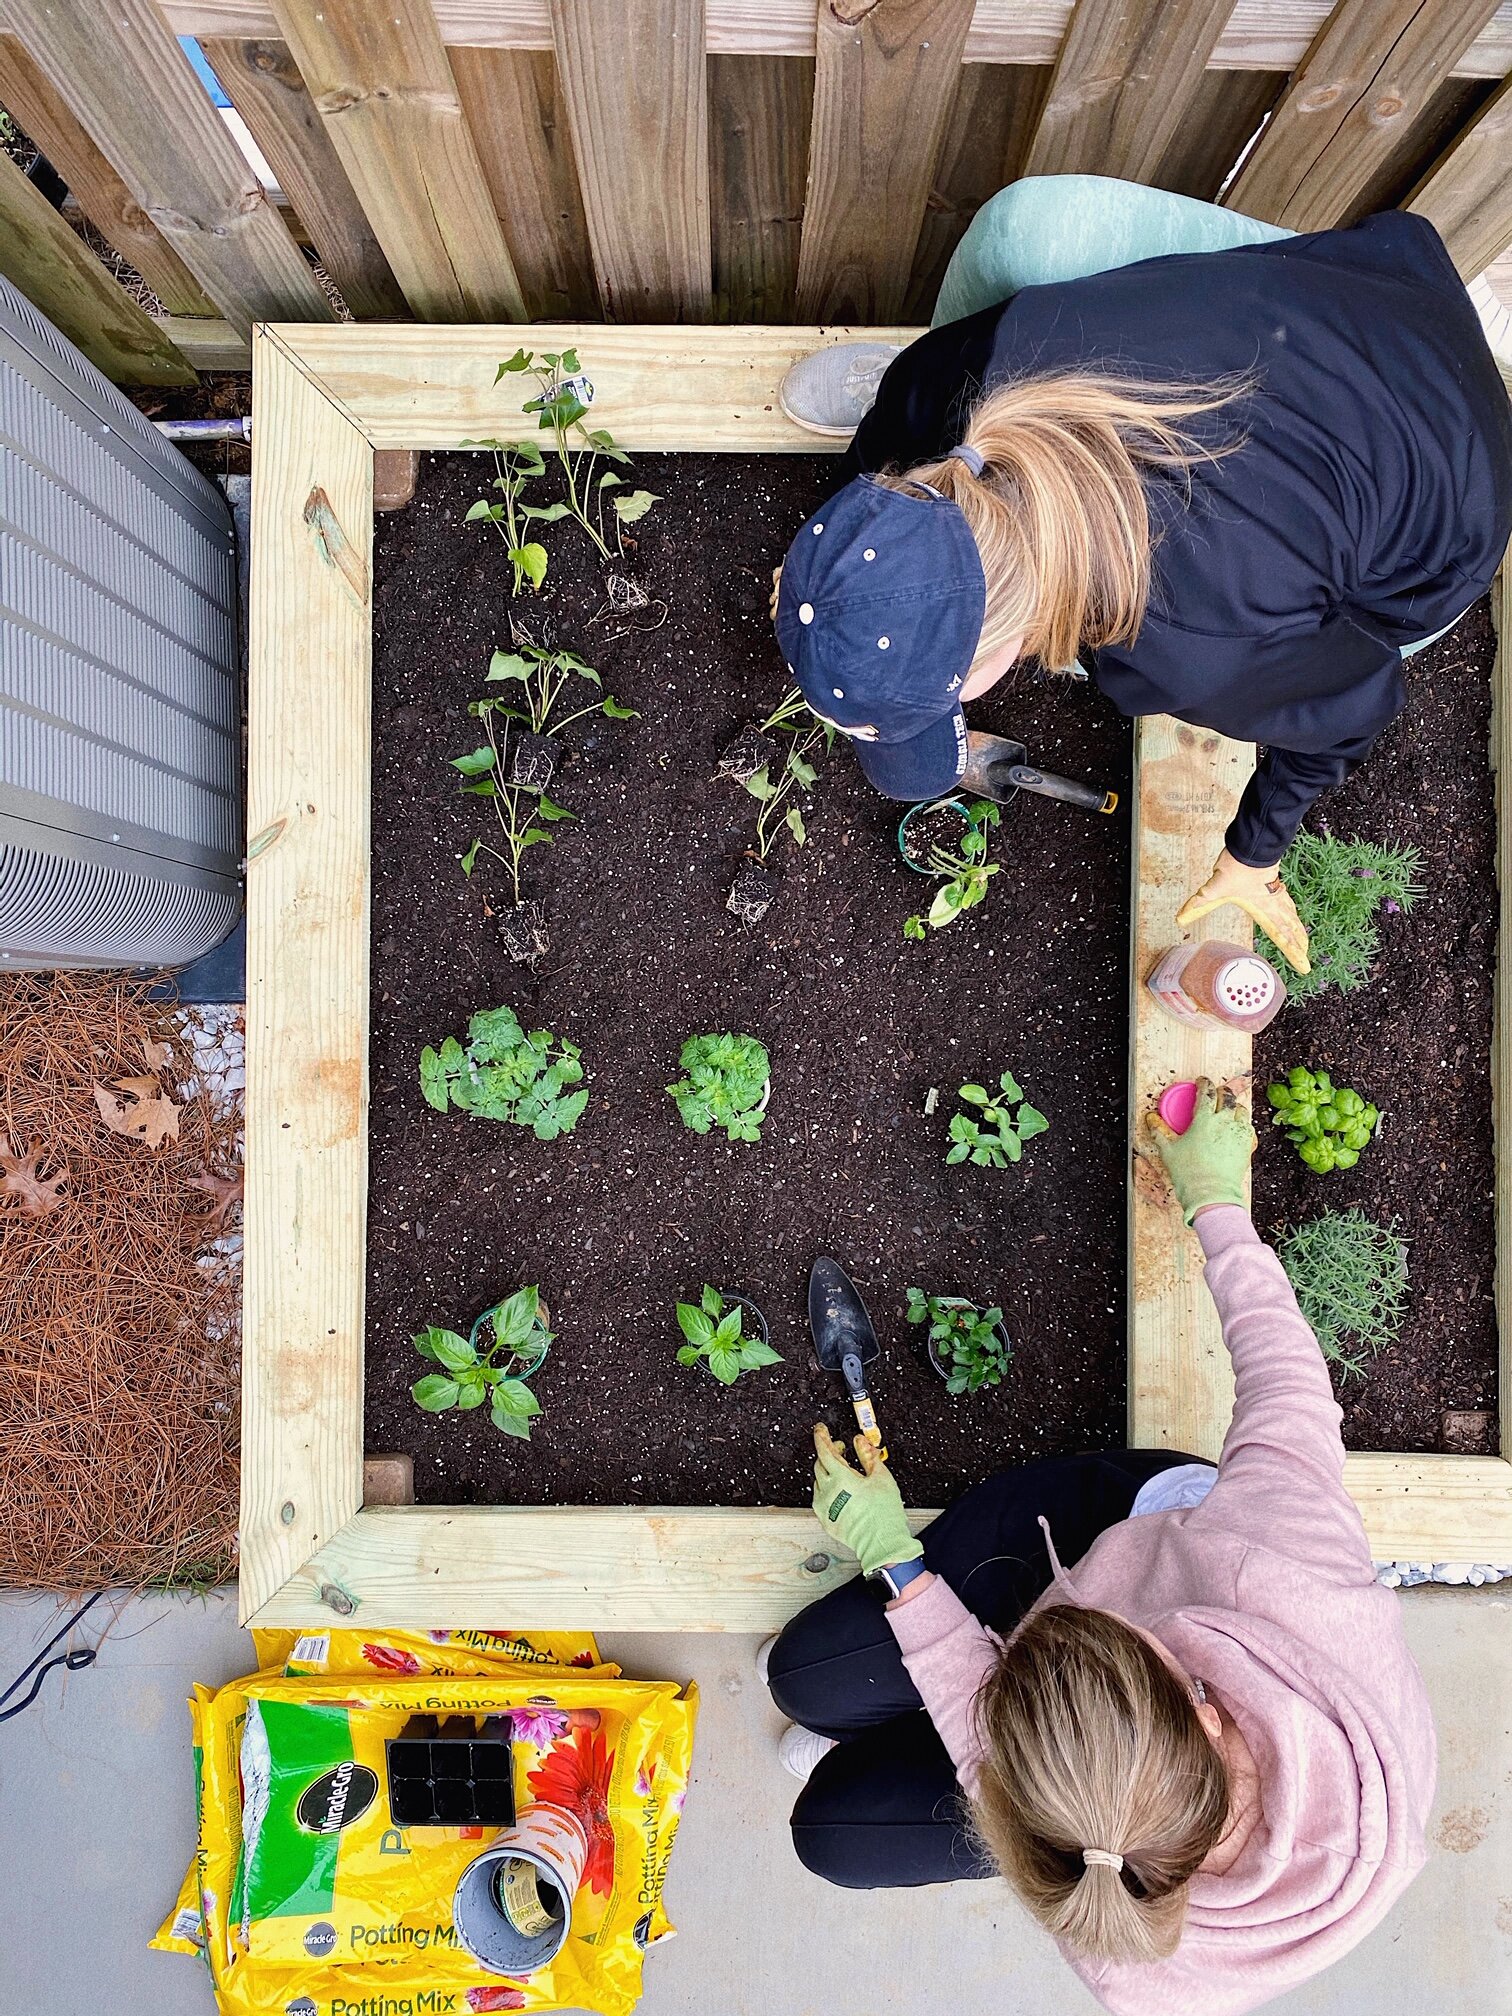
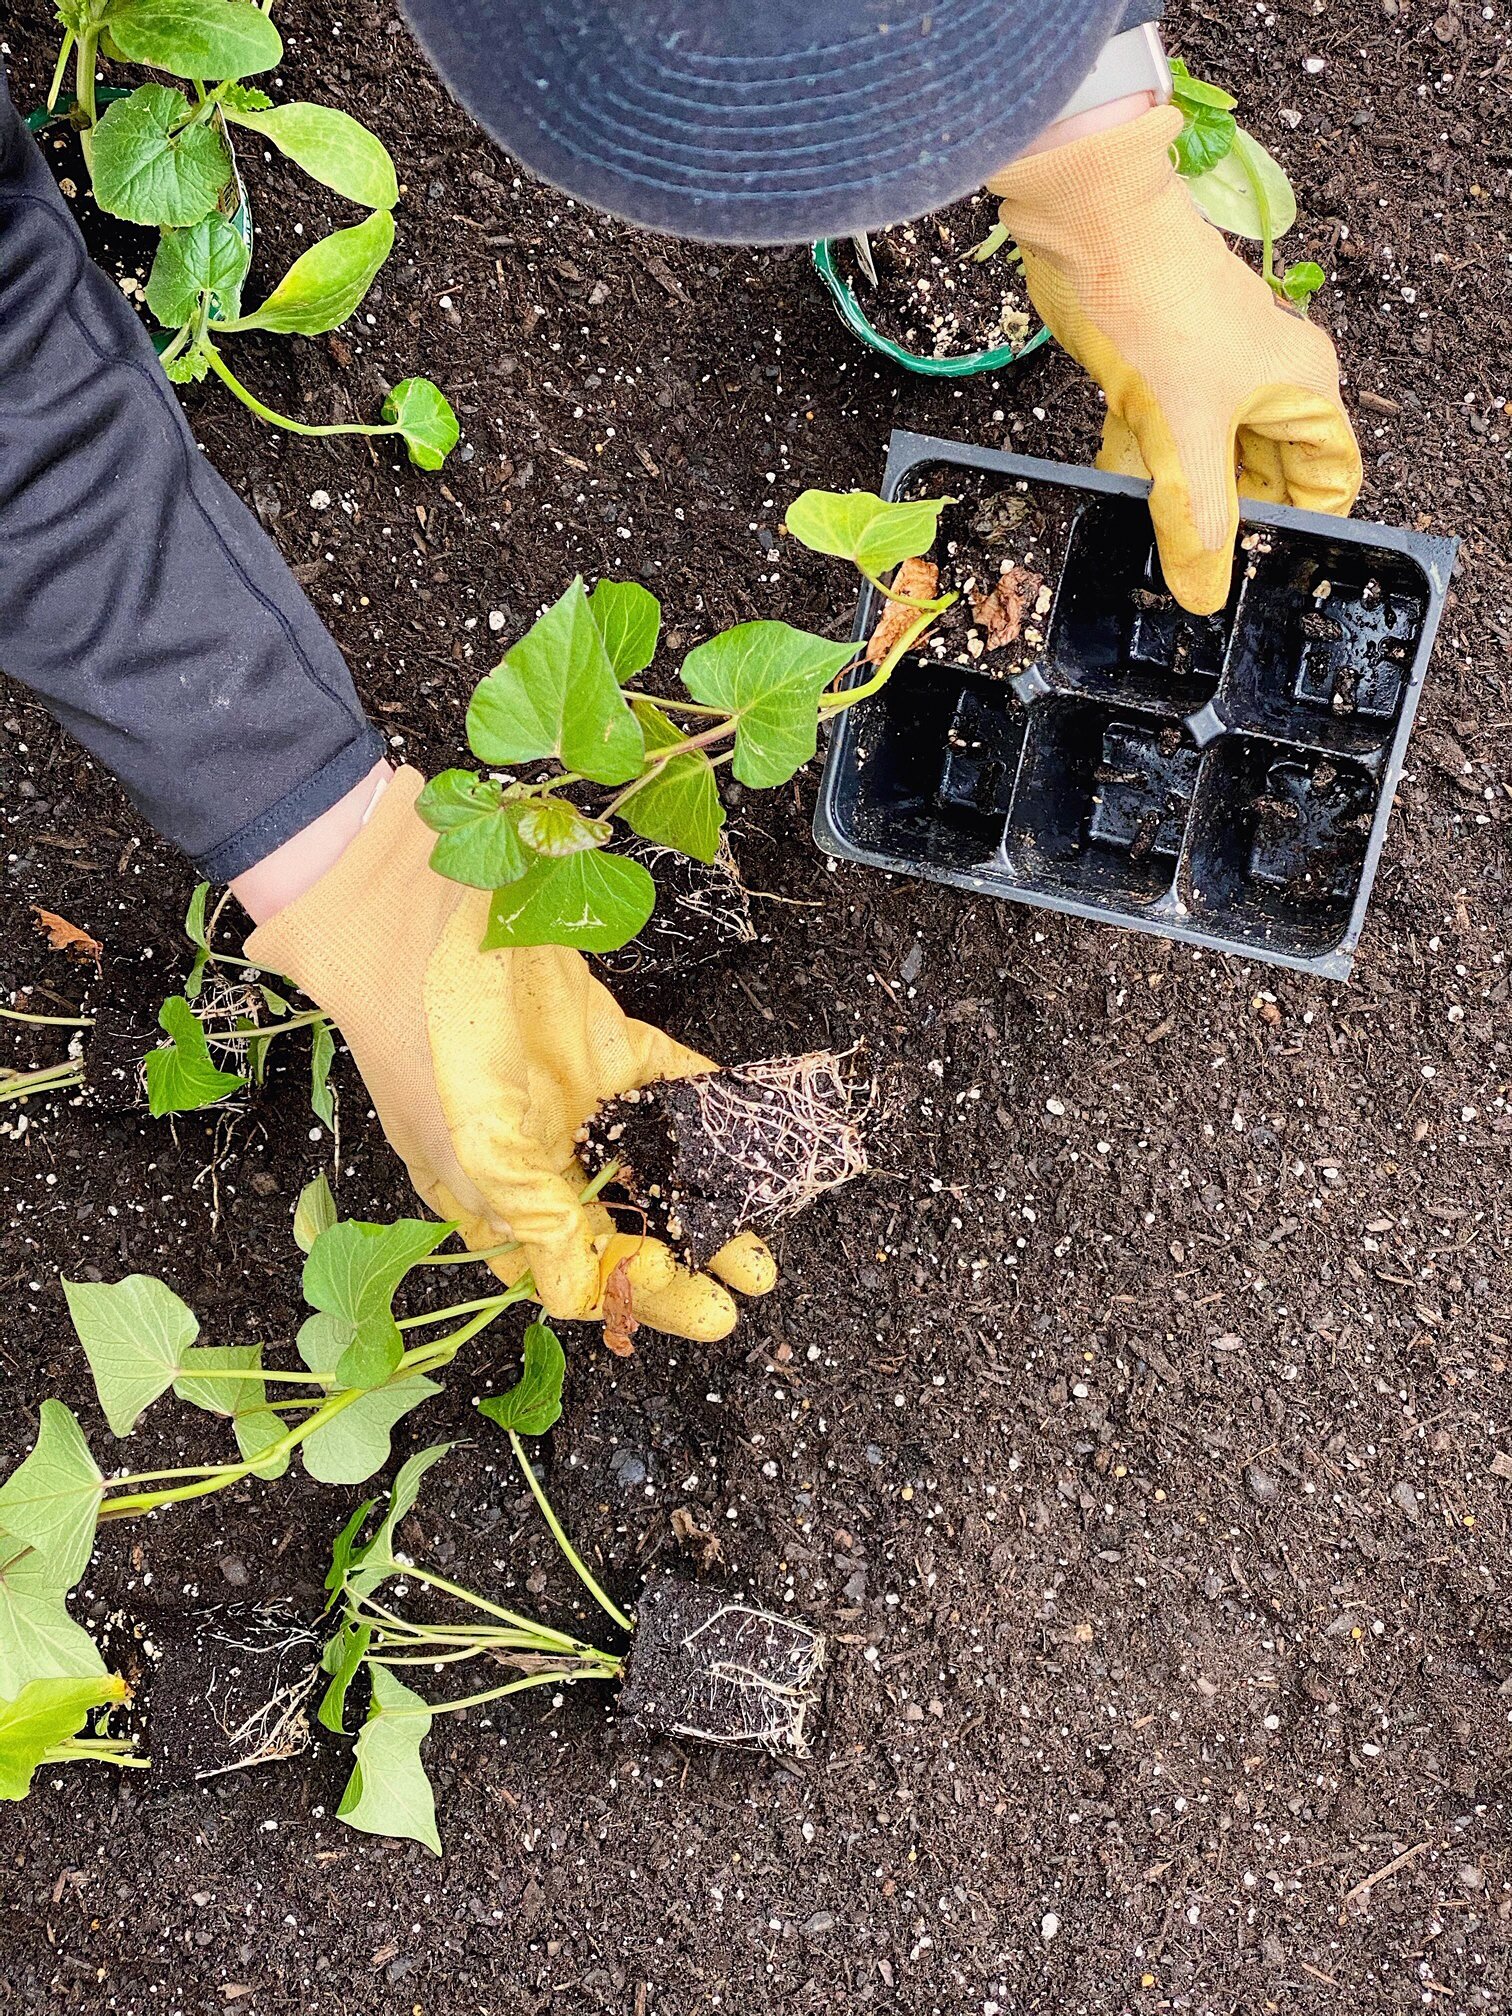
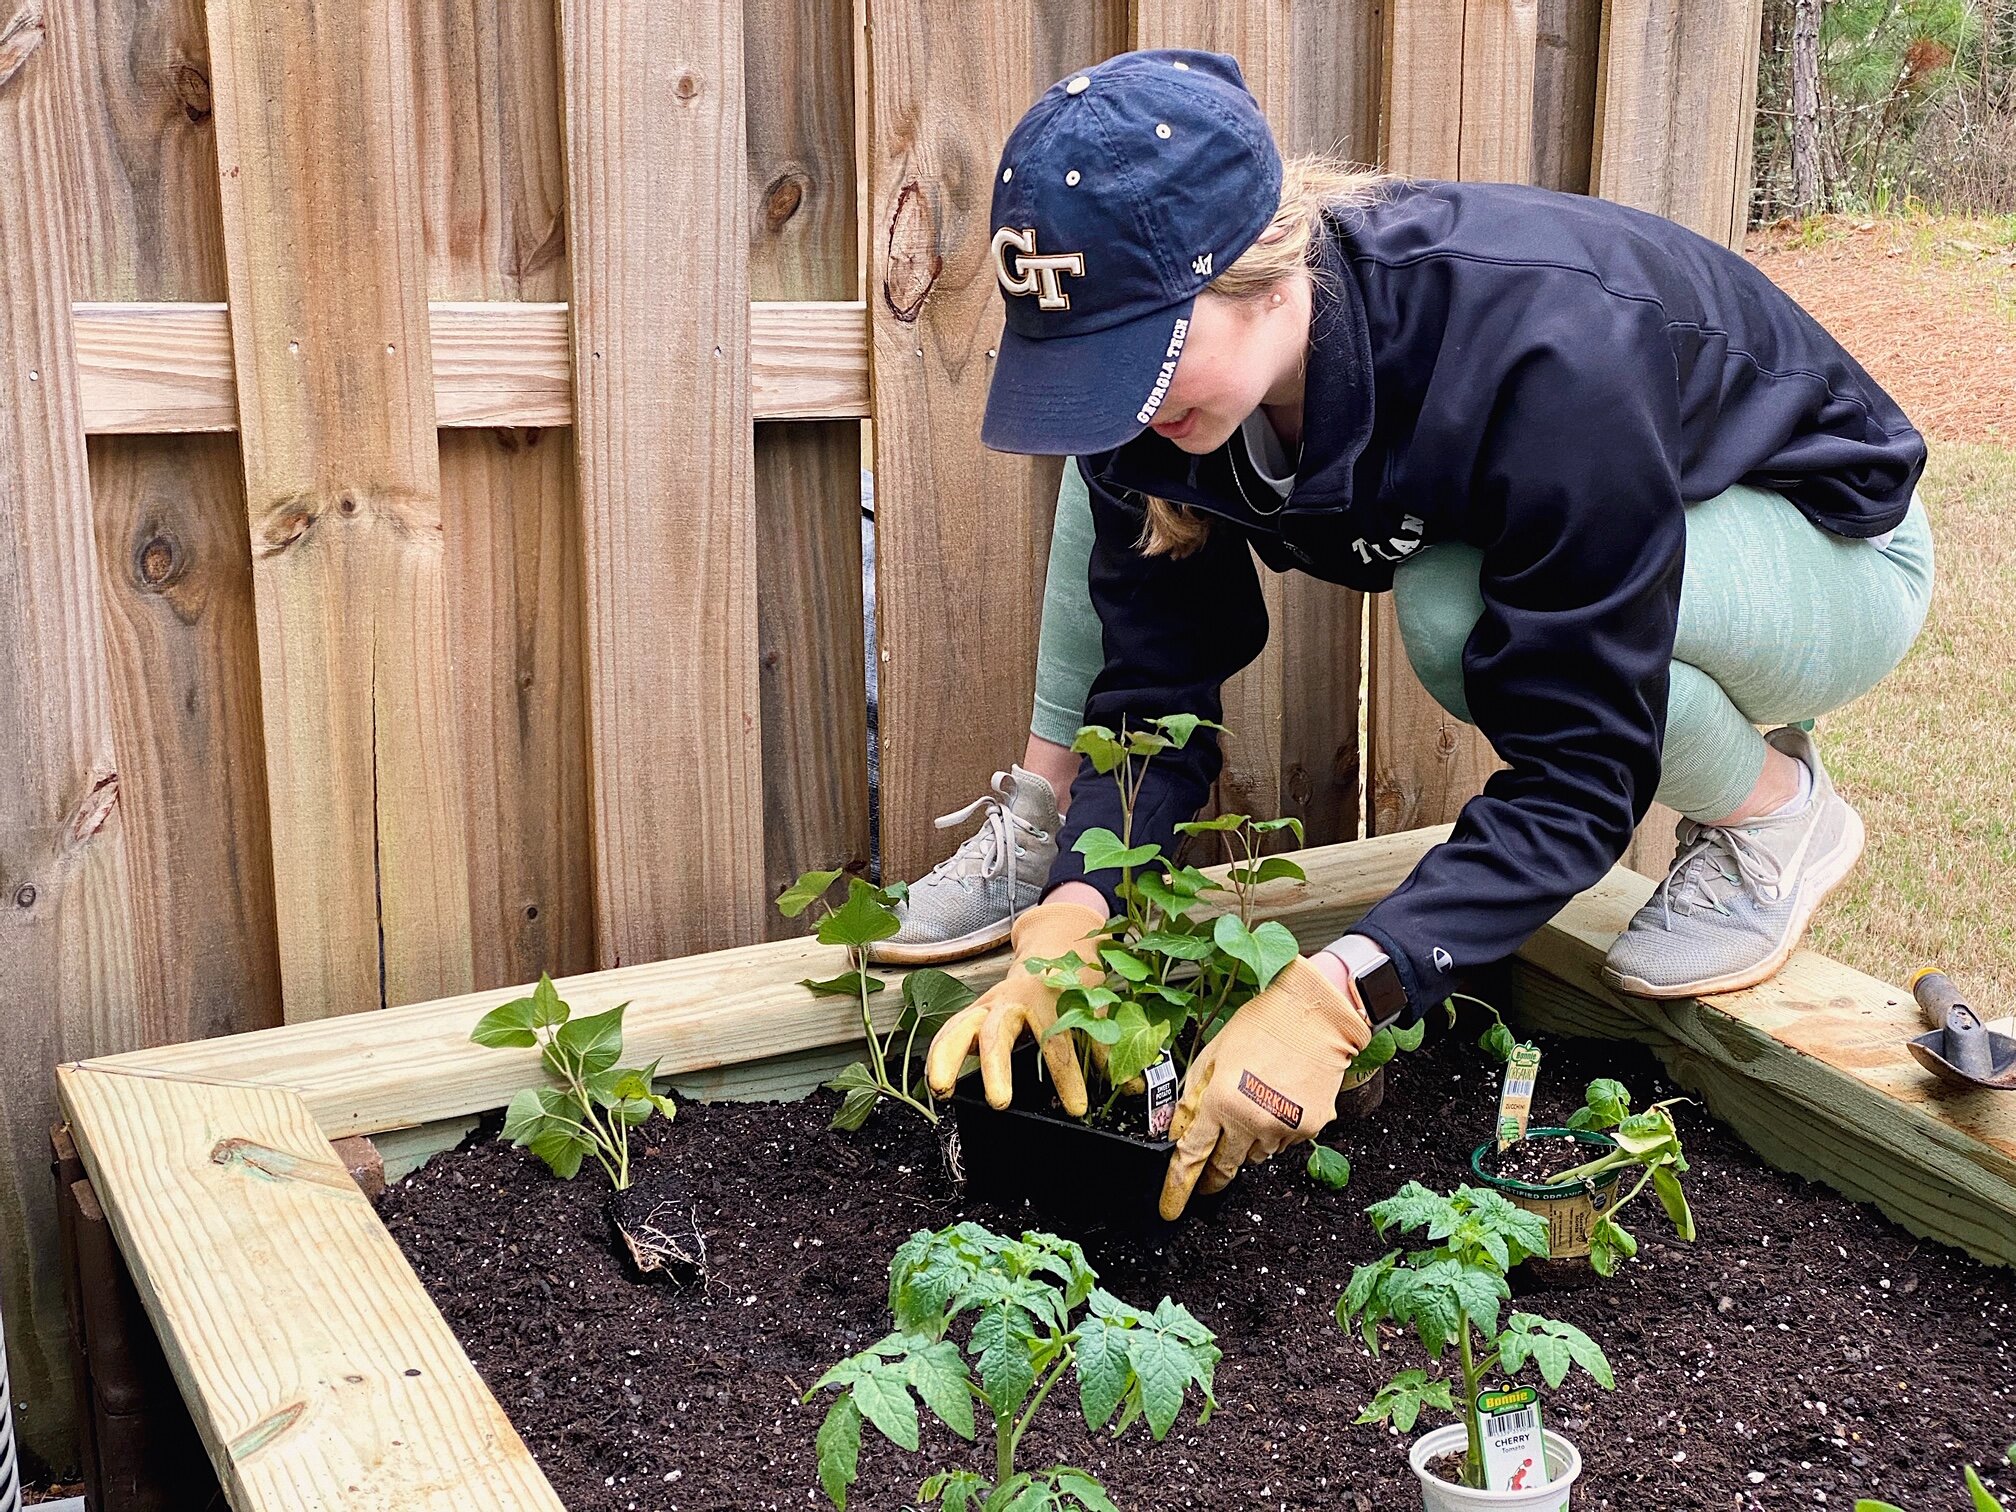
7. Mix the gardening soil with the soil you dug up and put the plants in! Water the plants well after planting them.

Some things we learned along the way…
Buy more than you think you need! We went to Home Depot FOUR TIMES because we kept forgetting things and needing more of this and that. Just buy extra and then make one trip to return what you don’t use.
If the wood doesn’t fit, don’t force it into the wall blocks. They break easily, and it’s no fun having to make an extra trip to get more blocks because we broke the ones we had.
Research how plants grow. I just bought the plants that looked nice and didn’t think about how well they get along with other plants or if they grow in a garden bed… looking at you sweet potatoes.
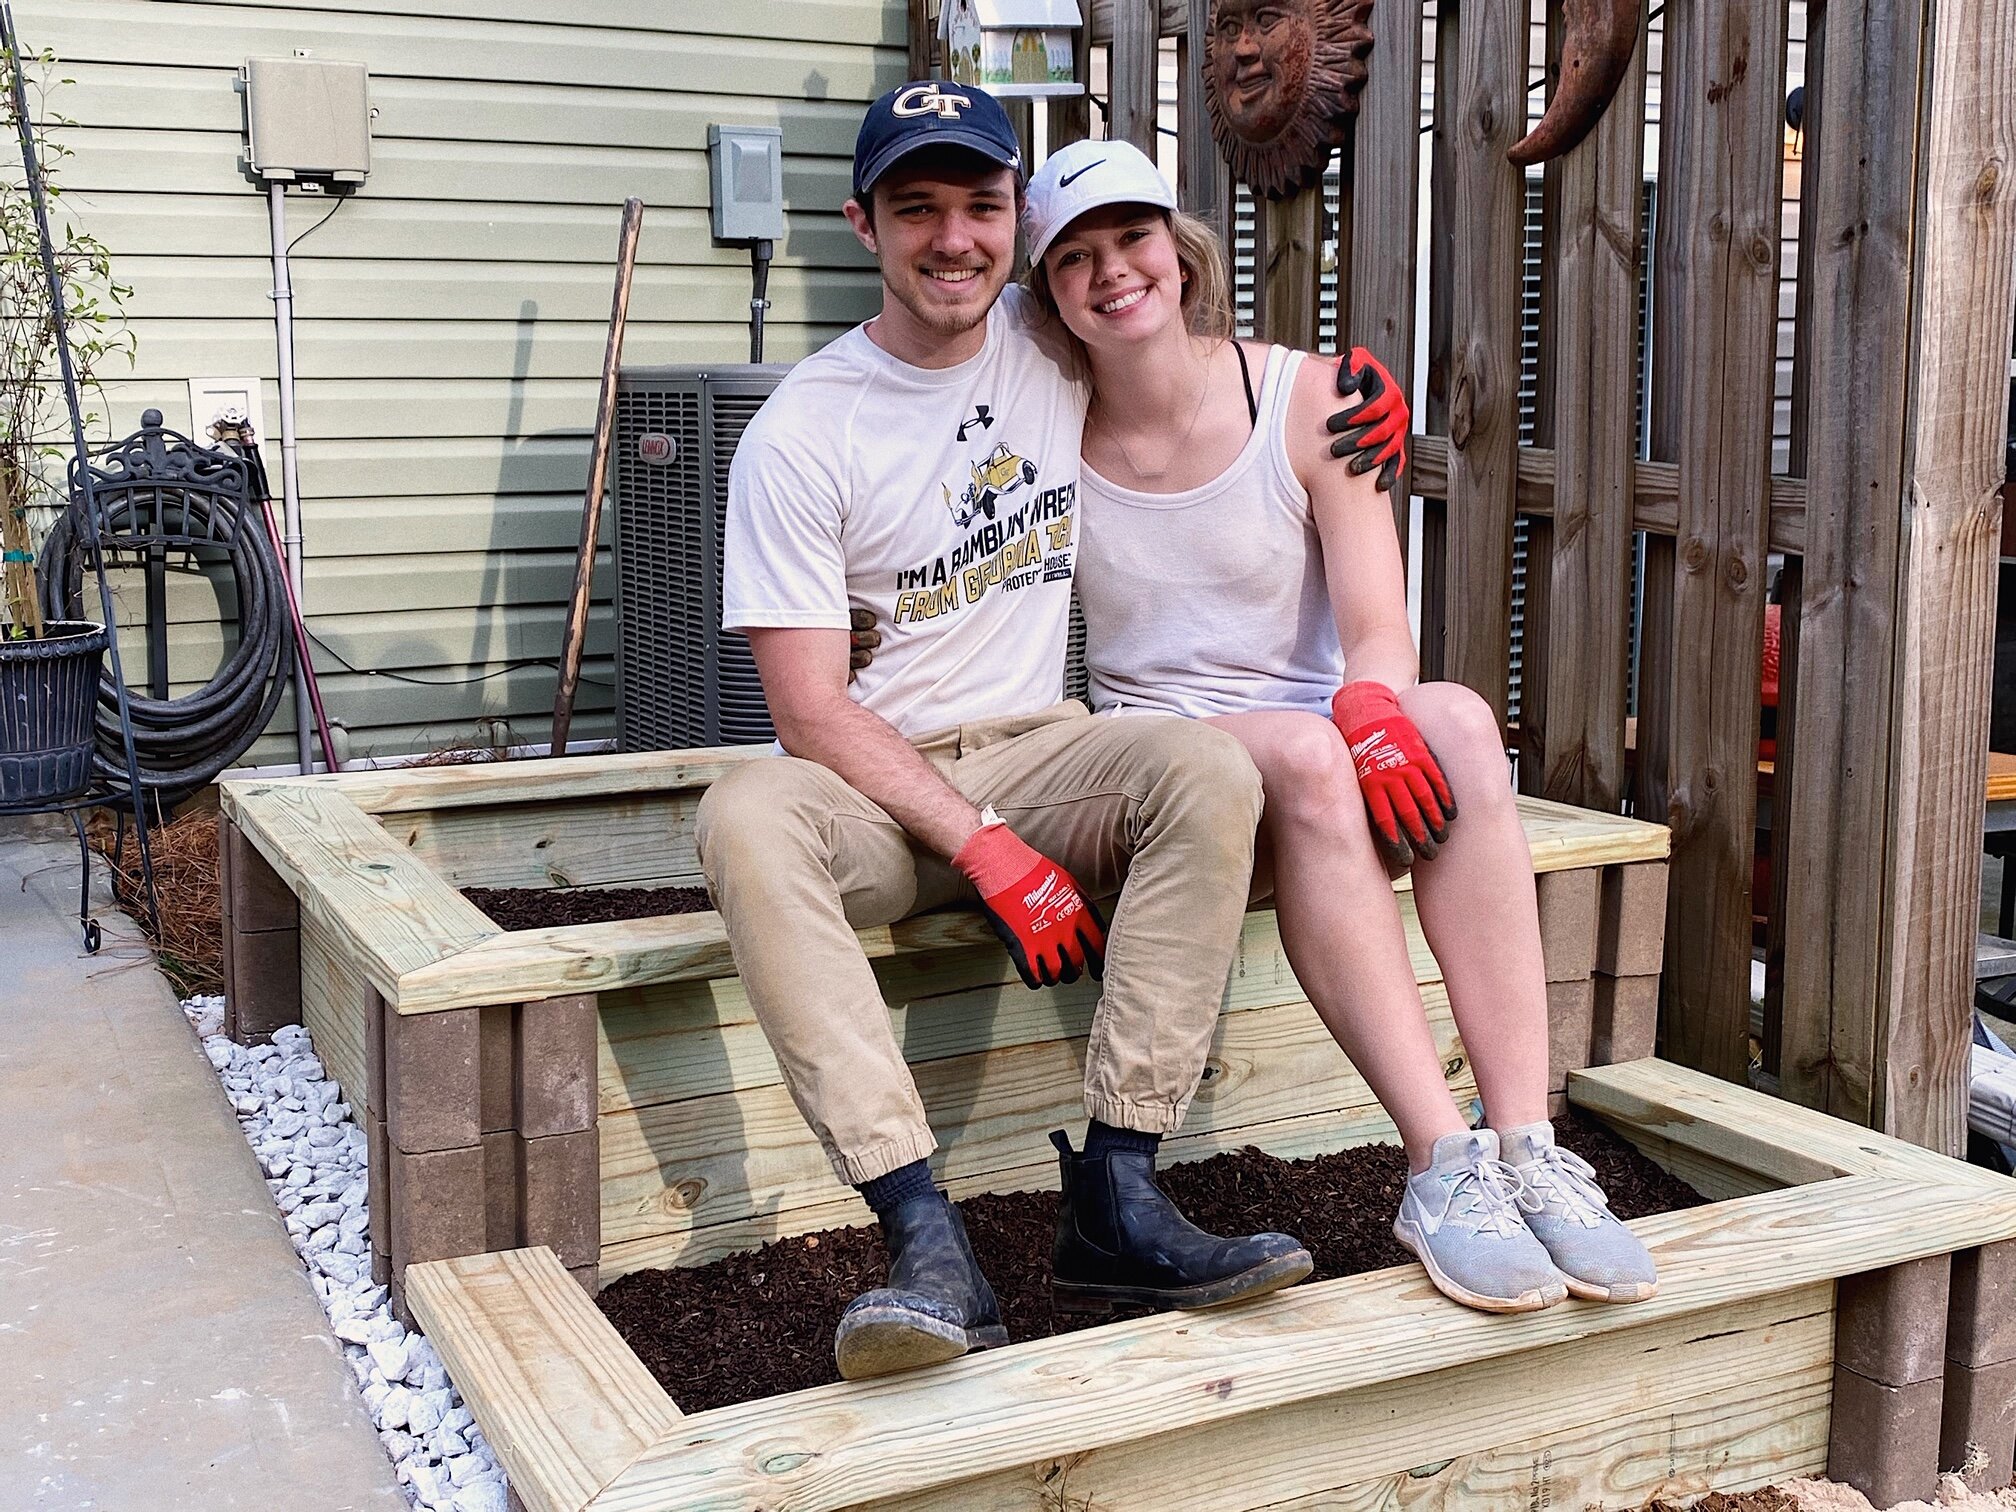
This whole process took Tim and I just about all day. We did have to go back to Home Depot quite a few time because we forgot things. Overall, it is not a hard project and can all be done in a day’s work! Stay tuned for updates on how my veggies and herbs are doing!